Professional installers take many considerations regarding car audio speaker installation for granted. Items like ensuring the speaker fits seem simple, but there’s more to that topic than many realize. Let’s look at a few critical considerations regarding speaker installation depth that will maximize performance and longevity. This article will focus on upgrading car door speakers. The same concepts apply to the dash, rear parcel shelf, kick panel, A-pillar, and other locations.
Speaker Size
The first step in upgrading speakers is finding a solution that fits. While this may seem straightforward, several factors can complicate the process. The first consideration is the required speaker mounting diameter. Oval speakers are fairly simple in this regard. You might have a 6×9, 6×8, 5×7, or 4×6 speakers. If you have an old vehicle and are considering rear parcel shelf speakers, there were some 4×10 units available. For modern car doors with round speakers, you might have an 8, 6.5, 5.25, 4, 3.5, 2.75, 2.5, or 2-inch diameter driver.
Surprisingly, as much as you’d think a speaker described with a specific dimension would have measurements that share those dimensions, you might be wrong. These sizes describe more of a “speaker size class.” For example, in the popular 6.5-inch size, there are 6, 6.5, and 6.75-inch sizes. The specific speaker size you need depends on the cutout diameter of the door. So, your installer might have to remove the door trim panel and the speaker, then measure the opening to find out what you need.
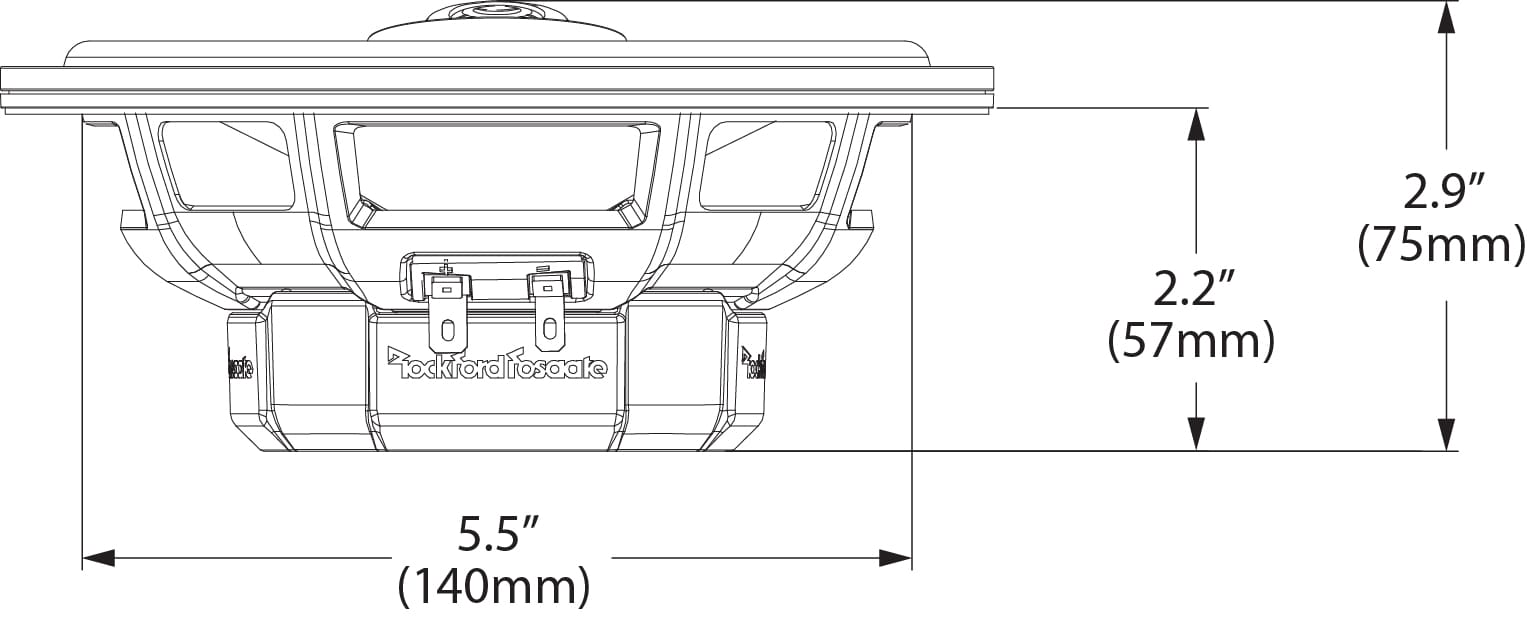
The Rockford Fosgate Power Series coaxial speakers are a perfect example of available solutions. They have the P16 coaxial, which is considered a 6-inch speaker. It has a minimum cutout requirement of 5.05 inches or 128.2 millimeters. The next size up is called the P1650. These 6.5-inch speakers have a minimum cutout diameter of 5.51 inches or 139.96 millimeters. These are by far the most popular solution. Finally, the P1675 is a 6.75-inch three-way speaker popular with some pickup trucks. The P1675 has a minimum cutout diameter requirement of 5.68 inches or 144.2 millimeters.

Speaker Installation Depth
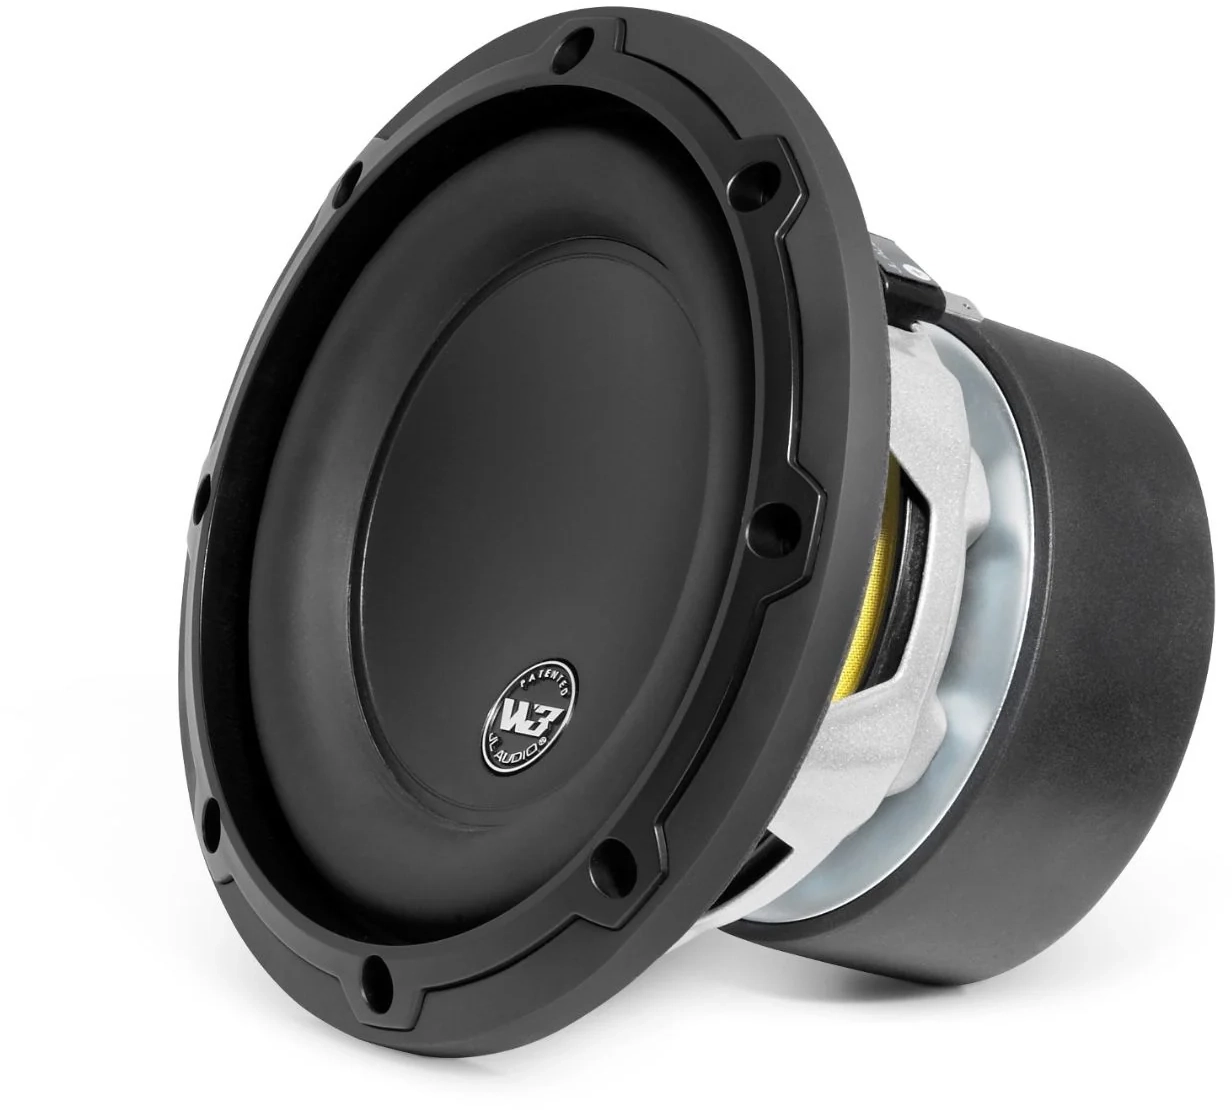
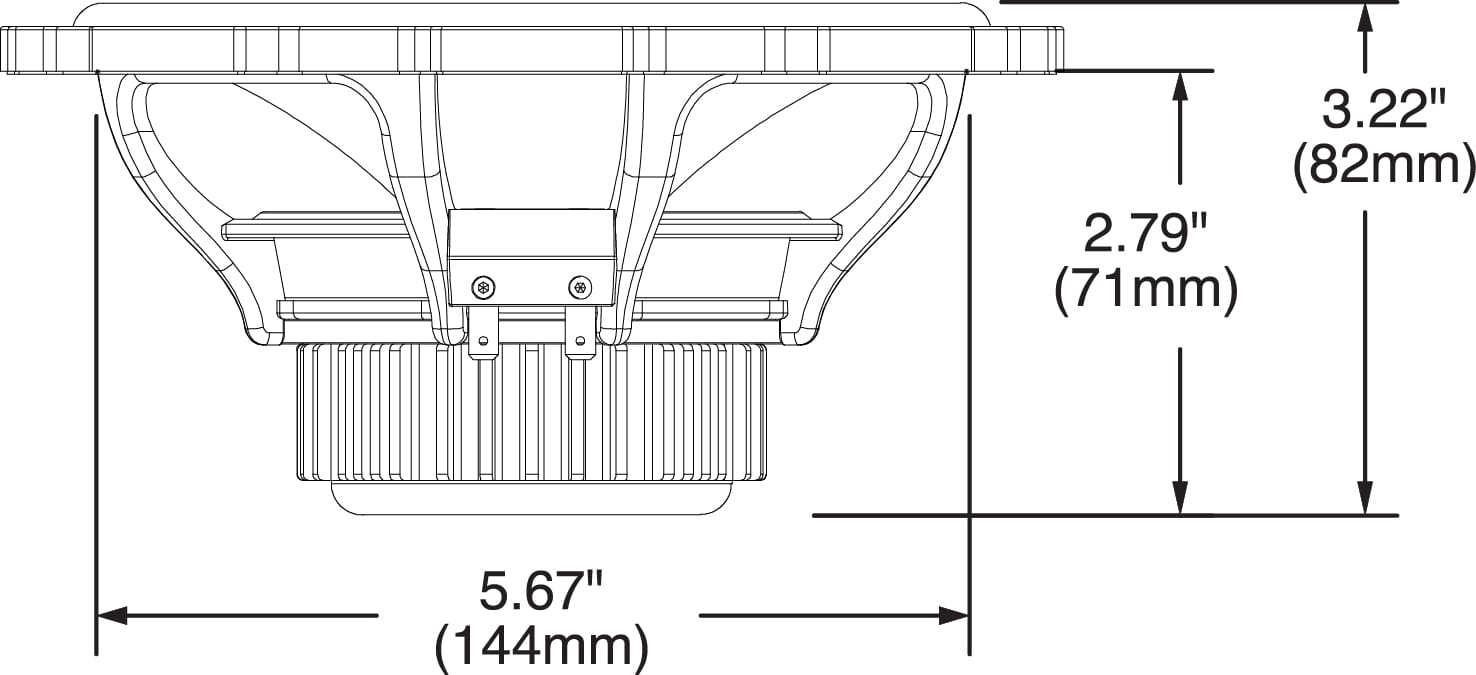
Once the Product Specialist you are working with has helped determine the appropriate diameter for a speaker upgrade, the next step is to consider speaker depth. Let’s say you had room for a big 6.75-inch speaker and the 5.68-inch mounting hole it requires. Do you have enough depth to fit a 6.5-inch subwoofer like the JL Audio 6W3v3 in there? This driver needs 4.25 inches of depth underneath the mounting flange. The answer is that it’s doubtful that a subwoofer will fit in your door.
The primary consideration for mounting depth in a door speaker is the window’s position when rolled down. Sometimes, there’s only a few inches of space. While a speaker might fit with the window rolled up, putting that window down without it crashing into the speaker’s basket or magnet is essential. The installer working on the vehicle will need to measure mounting depth as part of the speaker selection process.
Speaker Depth Versus Performance
One option for door speakers is to choose as shallow a speaker as possible. While this seems simple, you might be limiting the system’s performance. For example, an affordable, relatively shallow coaxial 6.5-inch speaker like the Rockford Fosgate Prime-Series R165X3 requires 2.15 inches or 54.4 millimeters of depth. This speaker is rated to handle 45 watts of power and has an Xmax specification of 1.9 millimeters in each direction. These are a very good, affordable choice for use with a radio or low-power amplifier.
What happens if you want your audio system to play louder? The Punch P1650 is the next step up. This speaker requires 2.25 inches or 57.15 millimeters of depth. However, it can handle 55 watts of power thanks to a voice coil with a longer winding. That extended winding provides 3mm of excursion in each direction. That’s a significant upgrade in terms of low-frequency output capability. If you have a 50-watt-per-channel amplifier, these would be perfect.
But wait, there’s more. Rockford Fosgate almost always offers a good, better, and best solution. In fact, they might have two or three options at even higher levels. In this case, the Power Series T1650 is the next step up. This driver needs 2.52 inches or 64 millimeters of mounting depth. However, that increased size affords you 75 watts of power handling and 6 millimeters of excursion capability. If you don’t have a subwoofer, then you likely want to start here, assuming you have enough mounting depth. These are a great speaker option if you have 75 or 80 watts of power from each amplifier channel.

What If There Isn’t Enough Speaker Installation Depth?
As long as we’ve been upgrading car audio systems, installers have had to find ways to fit speakers into their clients’ vehicles. So, what happens when you have 2.25 inches of clearance but want to install a speaker that’s 2.5 inches deep? The answer is that the installer needs to build a spacer ring.
A spacer ring is a donut-shaped spacer that will fit between the speaker and the door panel. The speaker will move away from the window by the thickness of the spacer. For our 2.5-inch deep speaker, a 3/8-inch spacer ring would be a good choice. You don’t want the speaker to touch the window, so adding extra space is a good idea.
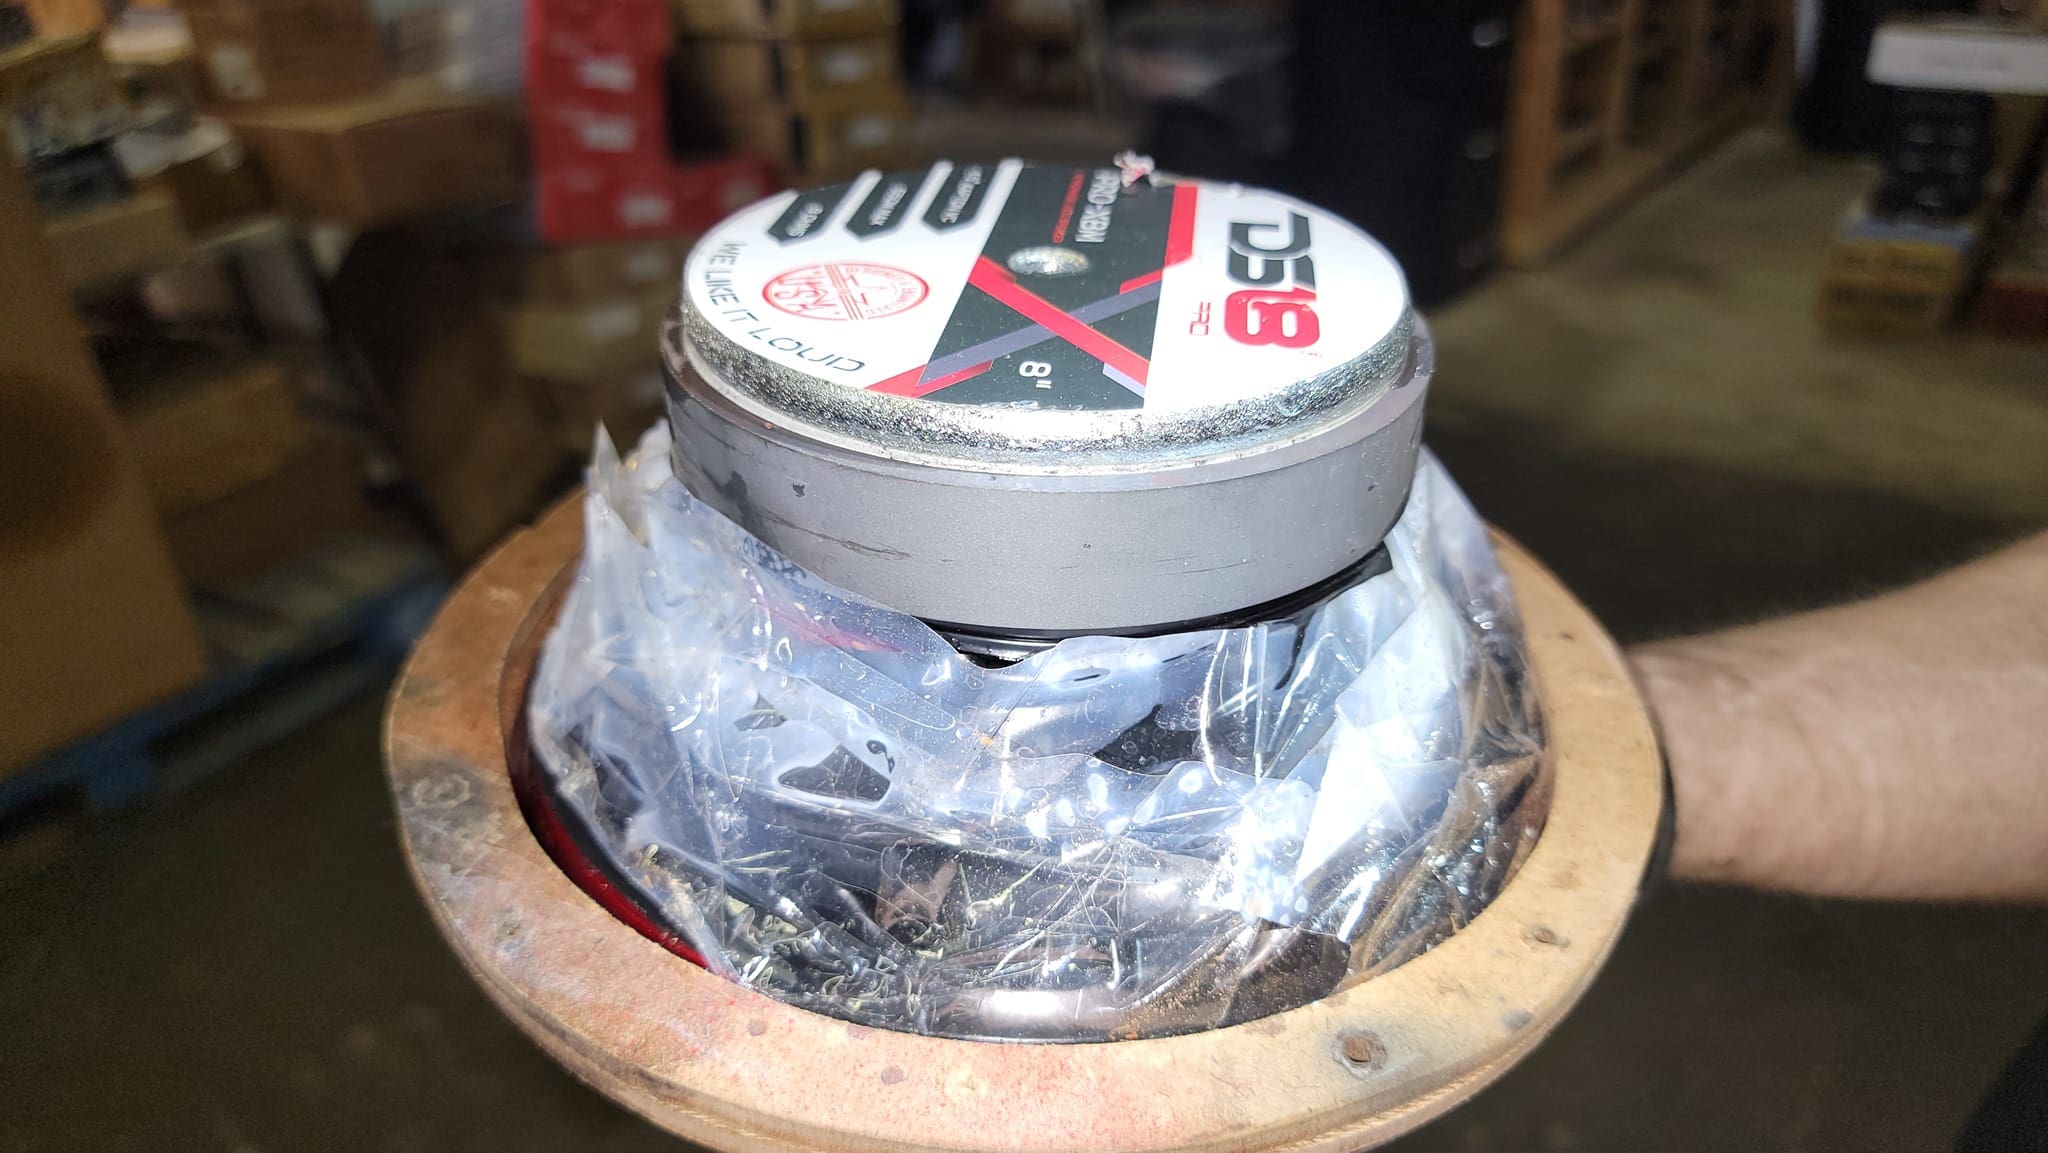
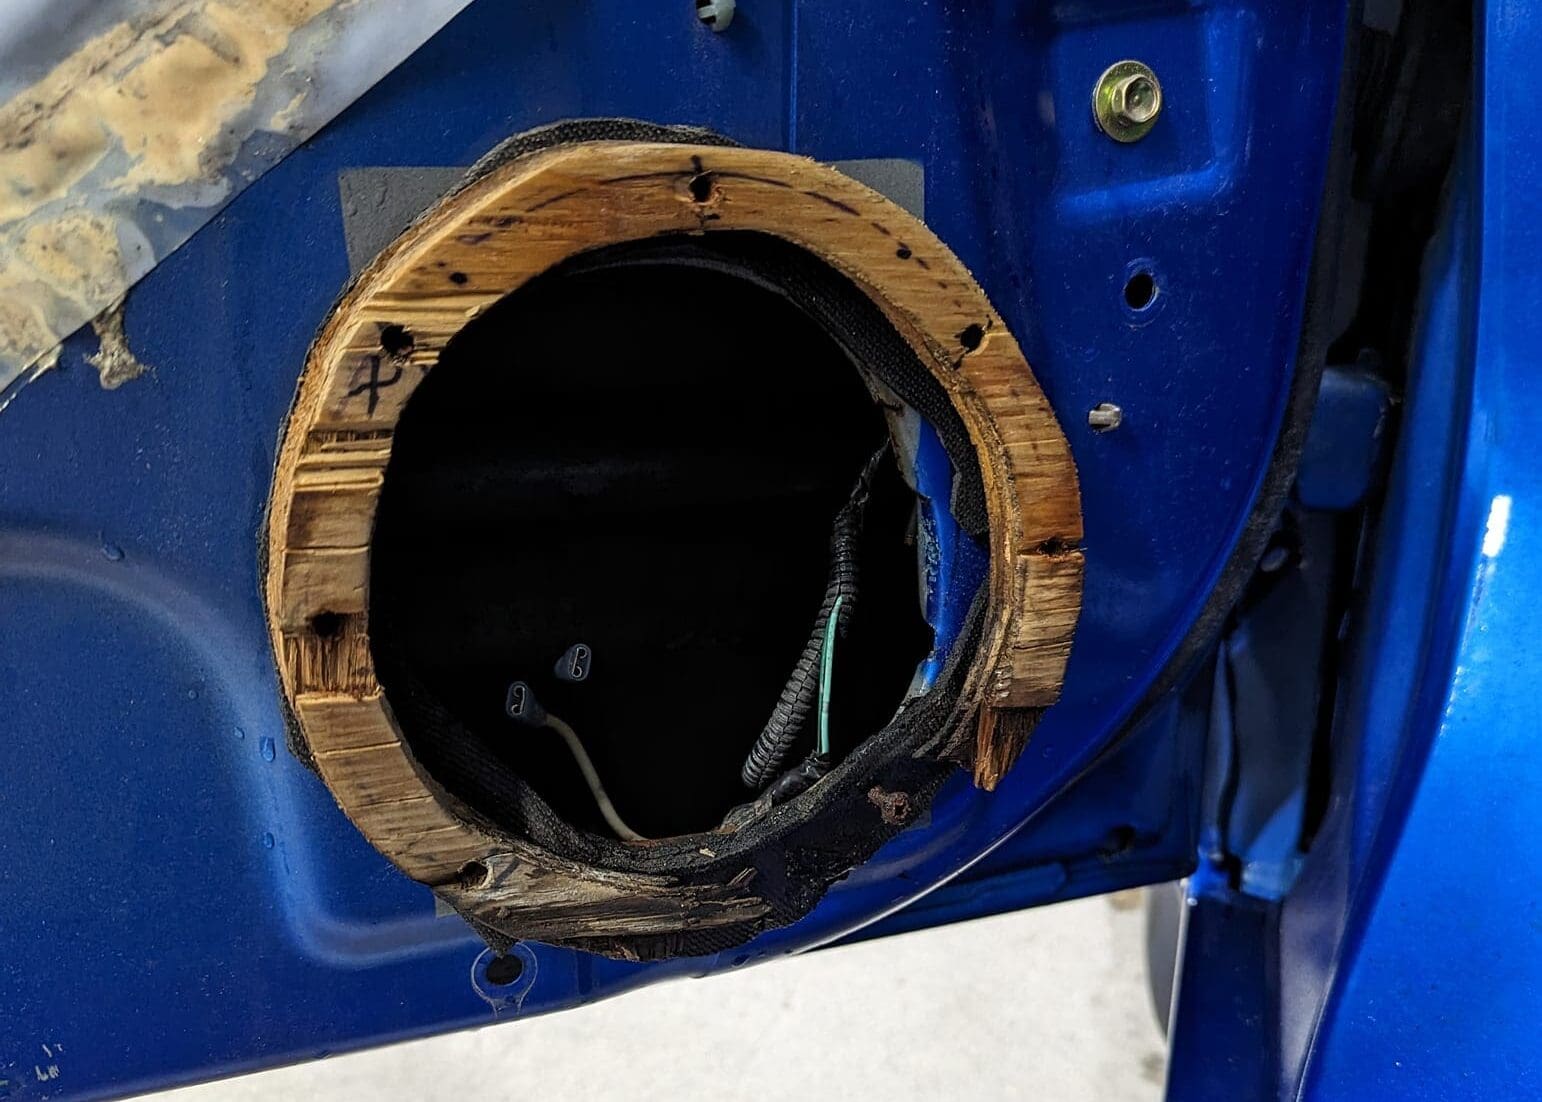
Historically, speaker spacers have been made of wood, most frequently MDF. However, this is a very unsuitable solution for use in a car door. Water will get into the door when it rains or you go through a car wash. In most cases, it runs down and out the little holes in the bottom. However, the water can drip off the bottom of the window onto the speaker or inner door panel. If you have used plywood or MDF, it will absorb the water. Eventually, it will swell up and become moldy. We’ve seen several cases where MDF spacers or adapters have swelled on one side and bent or broken cast-basked speakers.
Materials for Speaker Spacers
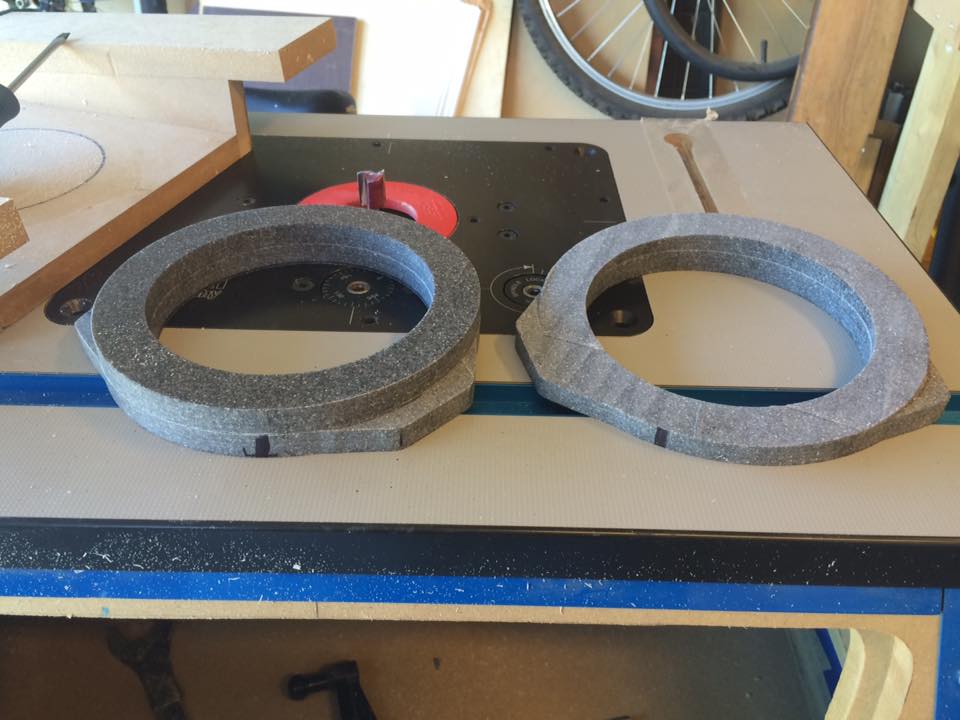
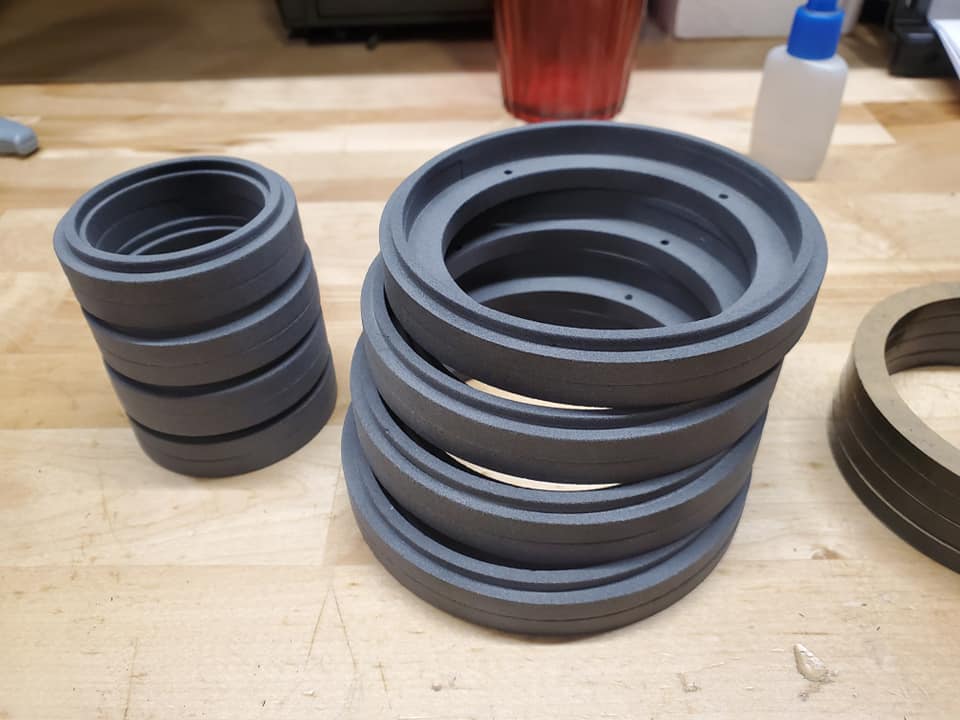
You’ve realized that wood is a no-go for door speaker installations. So, what should your installer be using? The answer is plastic. Rings made from ABS, Expanded PVC, or Acrylic won’t be damaged by water in any way. Aluminum is another option, though it’s more challenging to work with. A member of our team made angled adapters many years ago out of Dupont Corian synthetic countertop material. It can be worked like MDF but is impervious to water damage.
Speaker Protrusion Clearance
While speaker installation depth is a significant issue, so is clearance in front of the speaker. If you have the shop surface-mount your new speakers using their supplied grilles, there shouldn’t be any concerns. However, if you are installing new speakers into the original speaker location, the space between the front of the speaker and a door panel or factory grille is critical. Any speaker playing audio frequencies below about 300 hertz will move some amount. As frequency decreases, speakers must move farther to produce output at the same volume level. Even with a steep 80-hertz high-pass filter, a driver playing midbass frequencies moves significantly.
Your installer must ensure enough room for the woofer cone to do its job and not run into anything. Any interference can and will damage the speaker, which also sounds terrible.
Proper Speaker Clearance
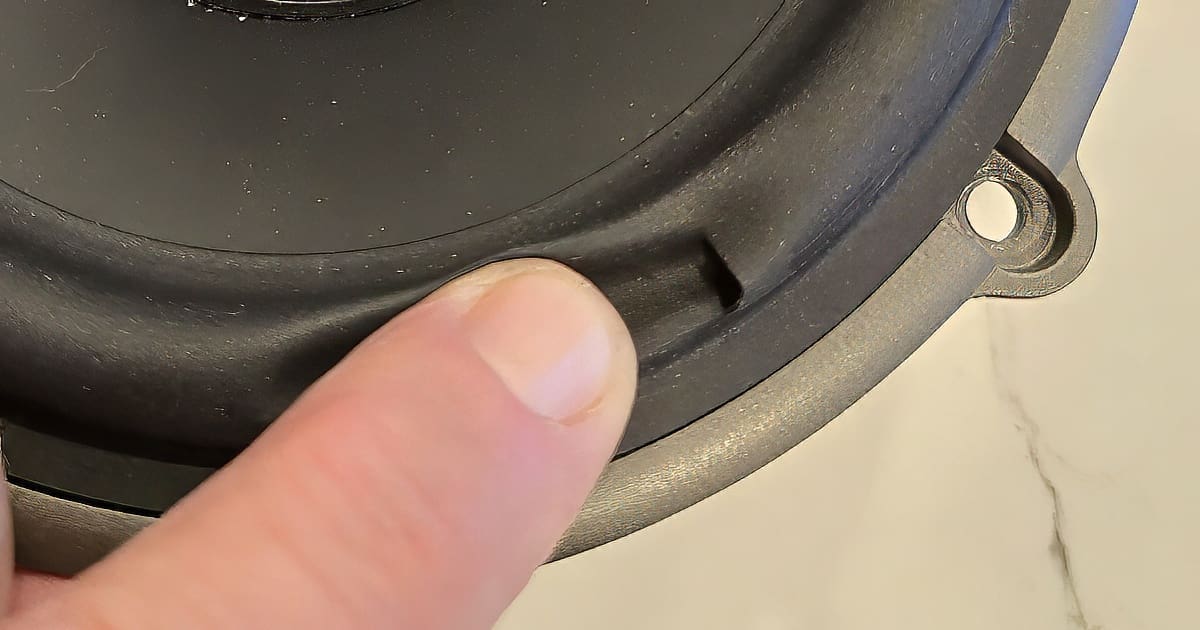
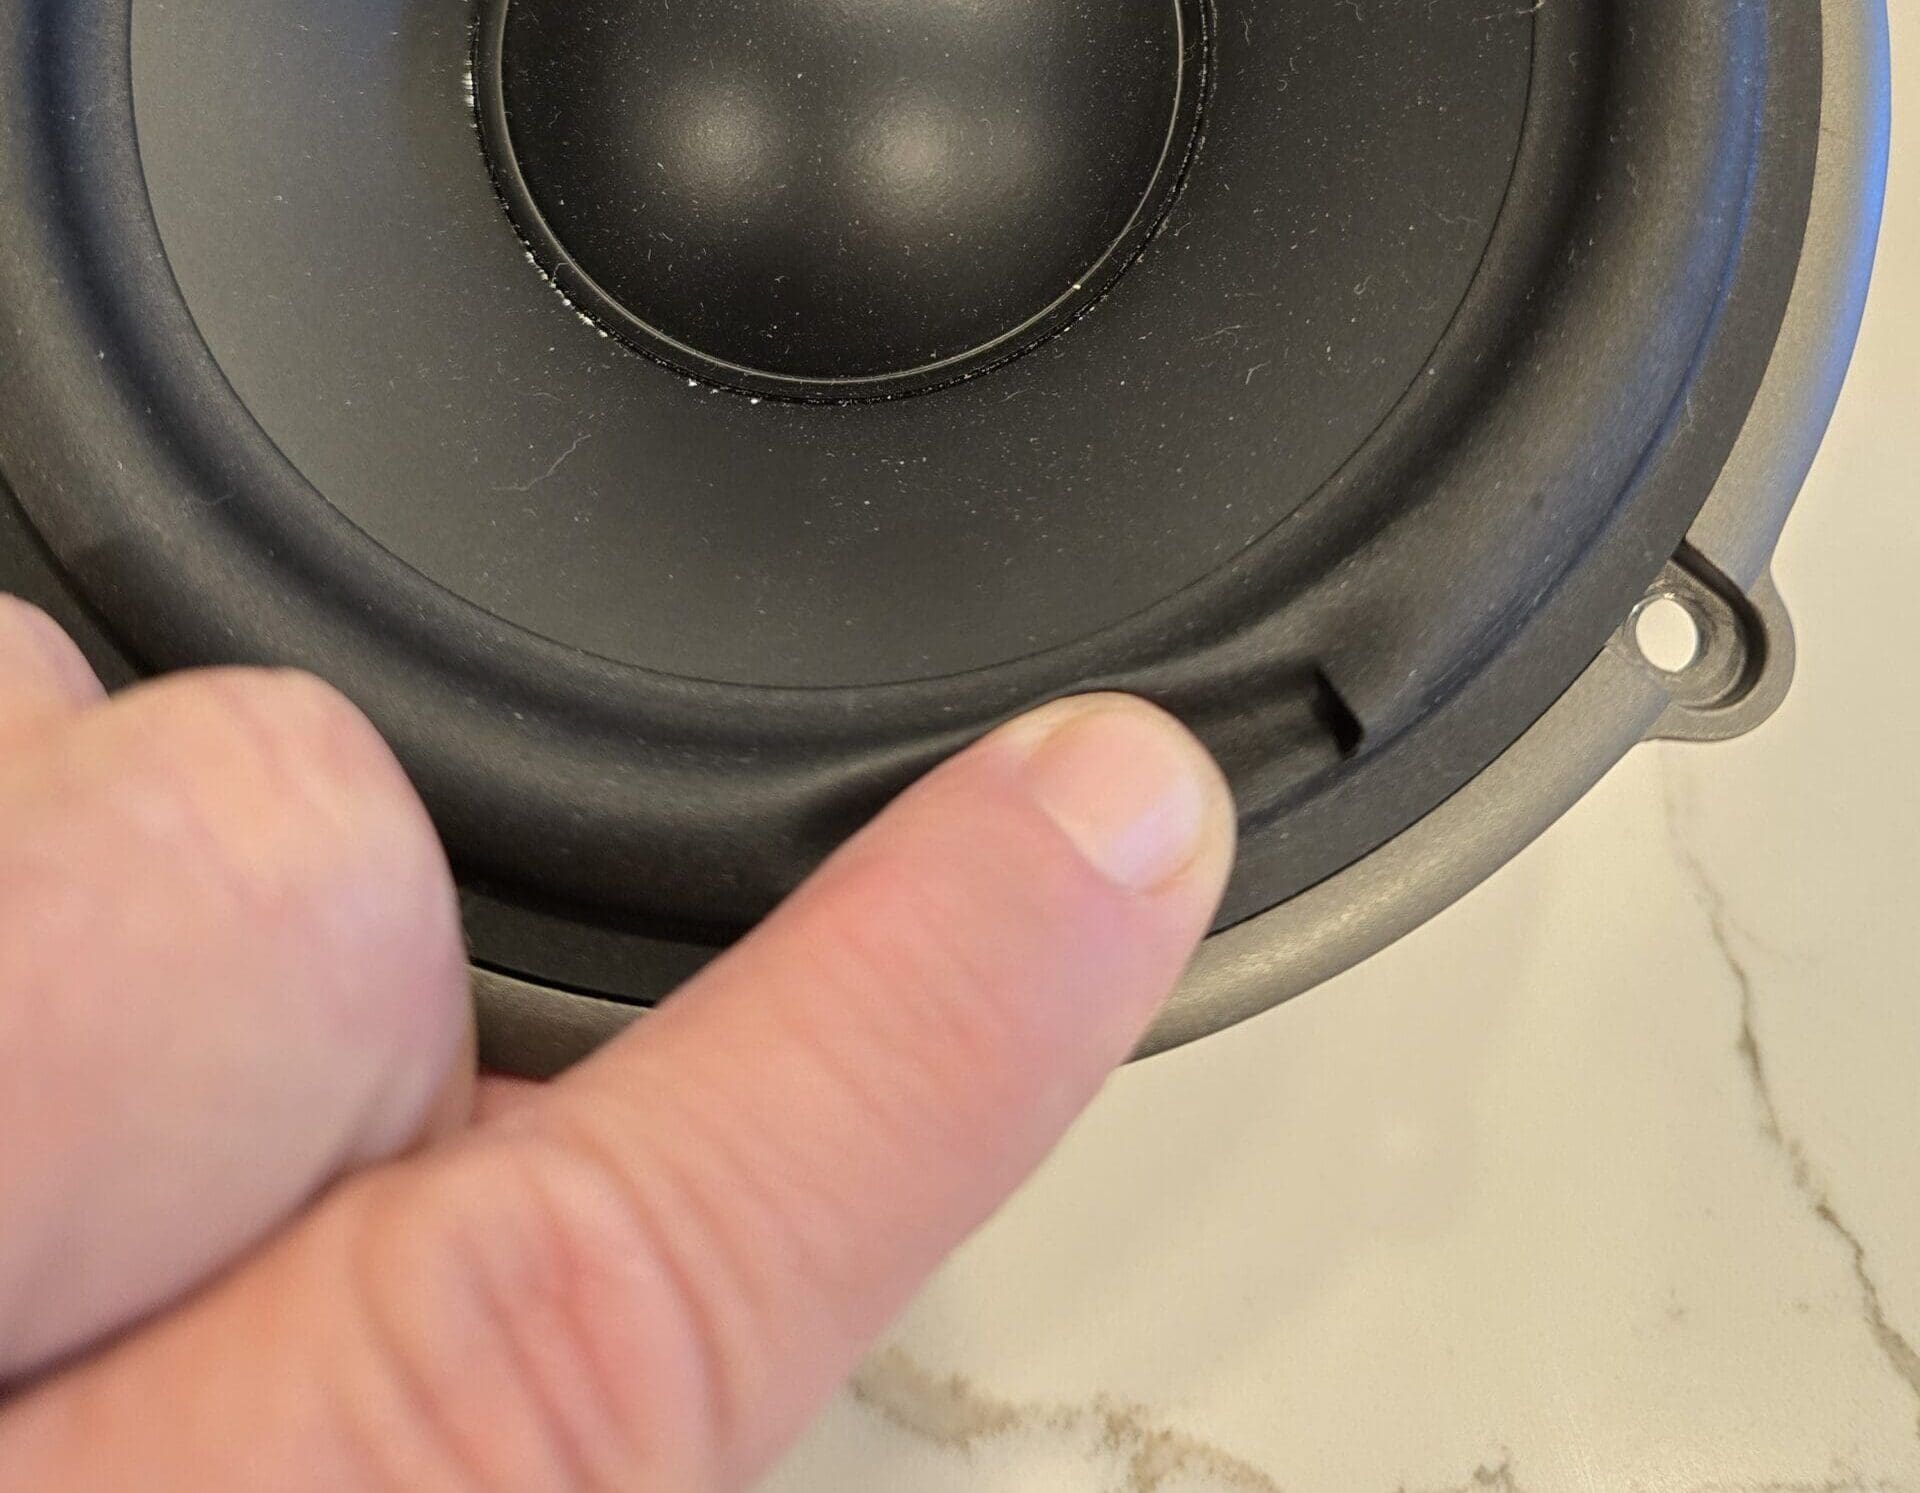
So, how much space do you need between the speaker and the grille? First, let’s talk about coaxial speakers and tweeters that protrude. Looking at the speaker directly from the side, you’ll see that the tweeter stands taller than the woofer’s surround. It would be best to have at least five millimeters or 3/16” between the tweeter and the grille. This assumes that the moving part of the tweeter is recessed behind some housing, lens, or grille.
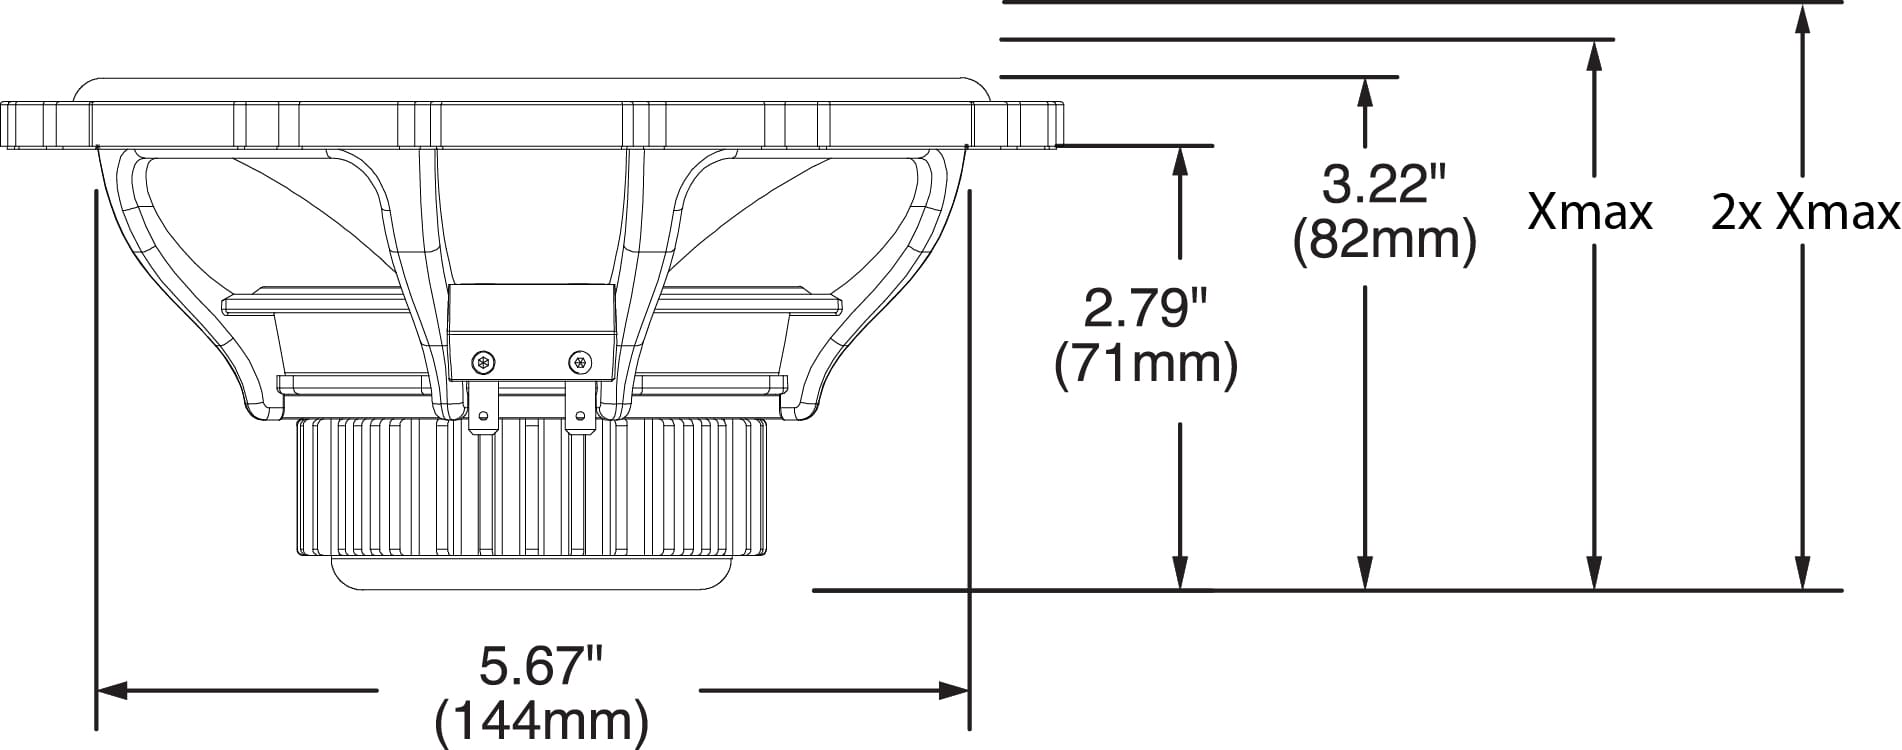
If you have a woofer like you’d find in a component speaker set, then your installer will have to do some math. First, they should measure how far the top edge of the surround protrudes above the mounting surface. They can do this with a few rules and the driver sitting on a table. Next, they need to look up the Xmax specification of the woofer. This specification describes the maximum linear one-way driver excursion. Let’s say we have an impressive woofer that offers 6mm of excursion in each direction. This means the driver can effectively become taller by six millimeters. However, that’s not the farthest the cone can travel. This specification is called Xsus.
It’s crucial to note that Xmax is not Xsus. Xsus describes the maximum excursion capability of the driver where the suspension design stops the cone. Typically, no amount of power from an amplifier will cause the cone to move beyond this point. This number is rarely ever published and varies significantly from speaker to speaker. It is advisable to double the Xmax specification to determine a suitable forward protrusion clearance. For our woofer, your installer should leave at least 12mm or 0.5 inches of space between the top edge of the surround and the grille to ensure the cone and surround won’t come into contact.
Choosing New Speakers That Fit
In conclusion, upgrading your car audio speakers involves several critical considerations, including finding the right size, ensuring adequate speaker installation depth, and using appropriate materials for spacer rings. It’s essential to account for both the depth and protrusion clearance of the speakers to avoid any interference with the vehicle’s components. Given the complexity and precision required for a successful installation, consulting a professional installer from a reputable mobile enhancement retailer is highly recommended. They have the expertise and tools to ensure your new speakers fit perfectly and perform optimally, enhancing your overall audio experience while avoiding potential issues.
