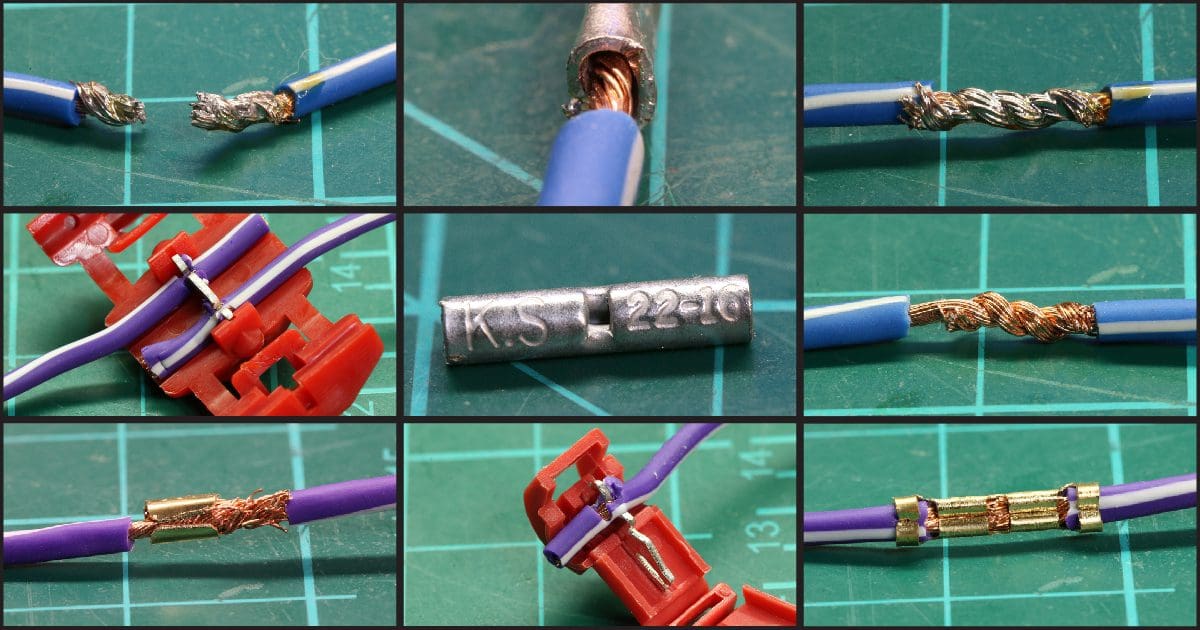
A short while ago, we published an article examining the resistance of different wire-to-wire electrical connection methods. We tested everything from twisting the wires to soldering, crimp connections, and even some popular connections for residential applications. Aside from the solder sleeve connection’s performance, nothing surprised us. Let’s dig into what worked, what didn’t, and a few other things to consider when making wire-to-wire connections.
Twisted Wire Connections
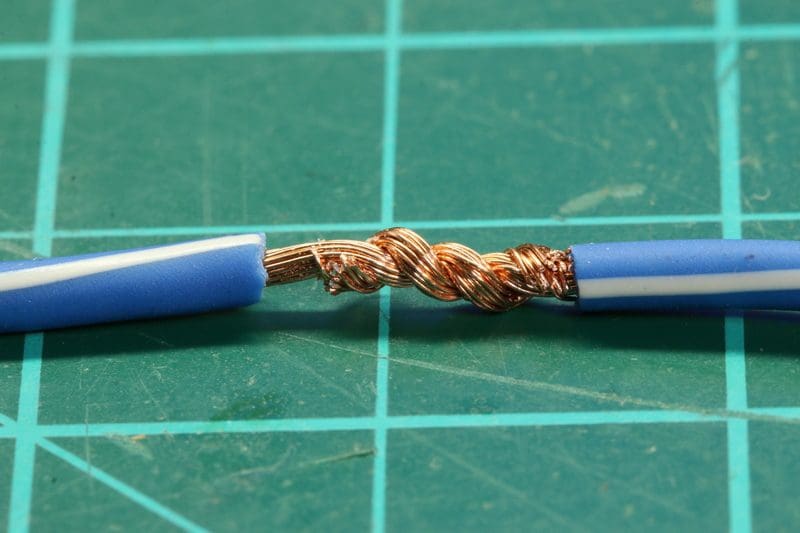
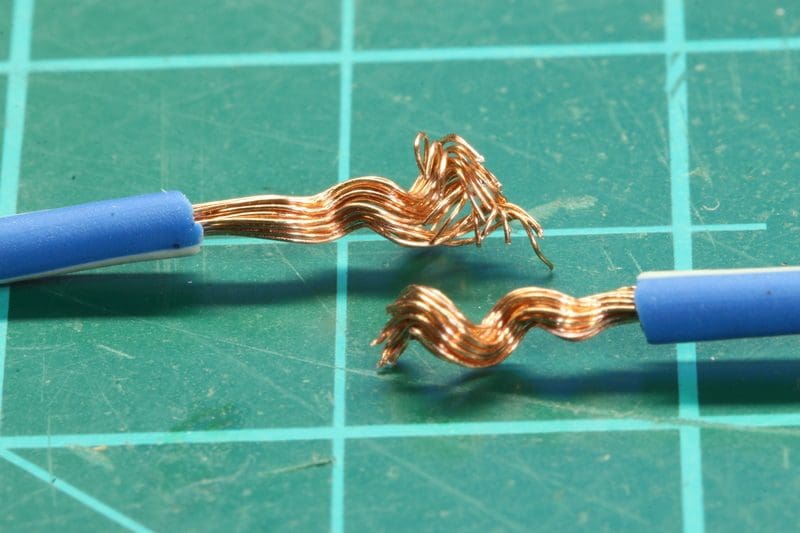
Twisting wires and covering them with electrical tape will make a connection that might be fine for testing. Our evaluation showed moderately high resistance compared with a crimp or solder connection. The biggest issue is that there is no reliable mechanical connection. If you pull on the wire, it’s likely to come apart. Upgrading the connection to a poke-and-twist or Western Union connection will improve mechanical stability. The contact between wire strands relies on the wire’s memory and the electrical tape. If any amount of current will pass through the wire, these are not ideal connection solutions.
Crimped Electrical Connections
If the choice were ours, the fastest and most reliable way to make a wire-to-wire electrical connection would be to use a mechanical crimp. Whether it’s a butt connector or a crimp cap doesn’t matter significantly. The critical factor is using the correct crimp size for the diameter and number of connected wires. Second, the crimp must be adequately compressed. Use a ratcheting crimper to apply adequate force. Likewise, crimp away from the end of the barrel rather than at the end. This gives the wire some strain relief as it transitions from the crimp. If you crimp at the end, there is a chance that strands can break from vibration. If the connection must be 100% reliable, adding adhesive-lined heat-shrink tubing will add additional strain relief.
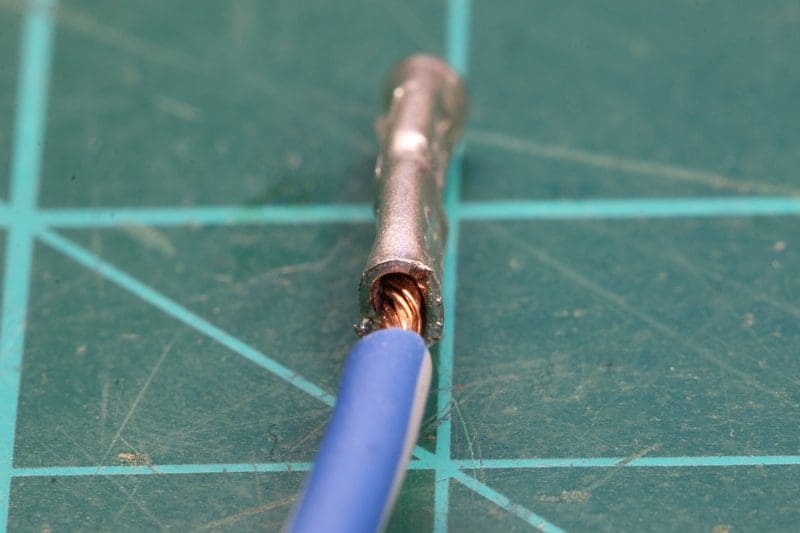
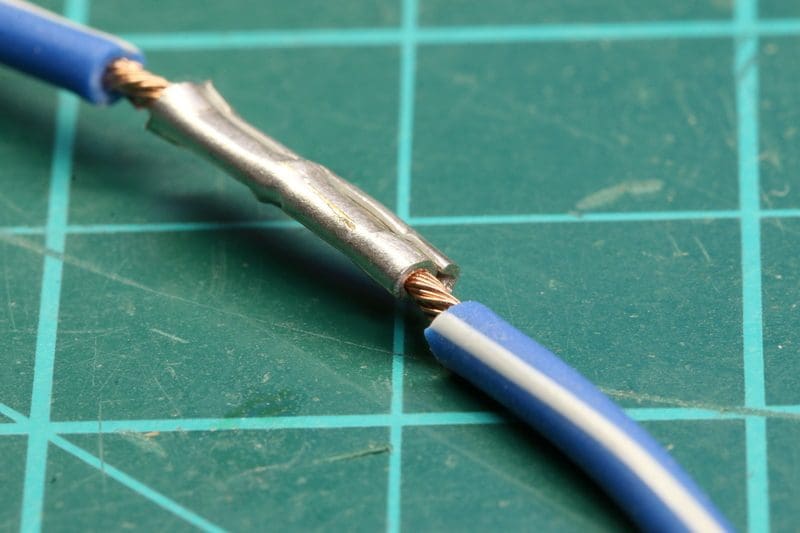
It’s worth noting that the crimping method shown is only appropriate for insulated connectors. That said, crimps should be closer to the barrel’s center than the ends.
Soldered Wire Connections
Though very popular, soldering one wire to another in an automotive application has a significant issue. Soldered connections have low resistance and good mechanical properties. However, they can fail quickly when the connection is subjected to mechanical strain. The image below shows a soldered connection that failed after being bent 45 degrees in each direction six times.
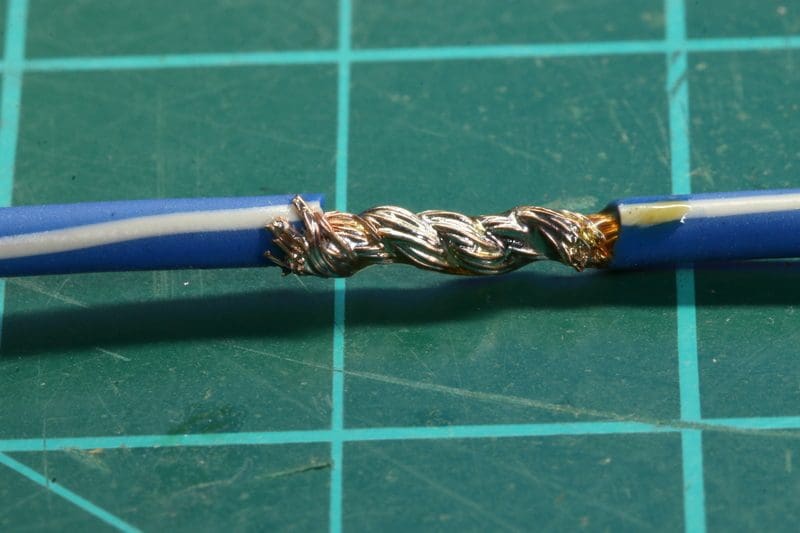
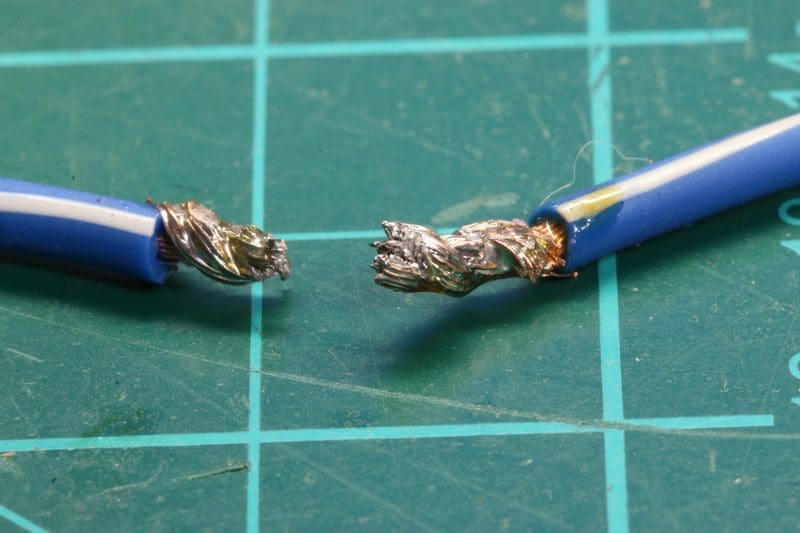
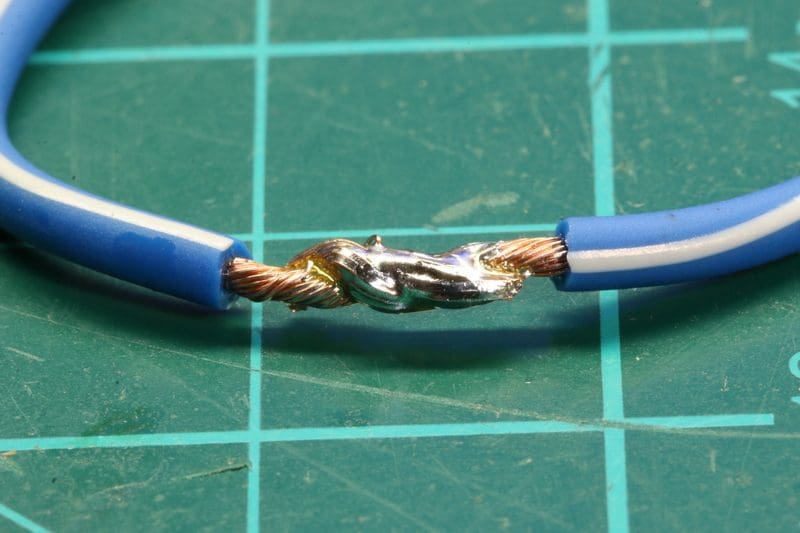
Controlling how much the joint is heated and how much solder is applied is crucial to making a reliable connection. A temperature-controlled soldering iron, good-quality solder and appropriate flux use are critical to proper execution. The image below shows a well-executed solder connection. The solder has flowed into the wire well. There is unsoldered copper still visible at either end.
If we apply more heat and solder to this same connection, we can see that excess solder flowed up the wire, and the jacket started to melt.
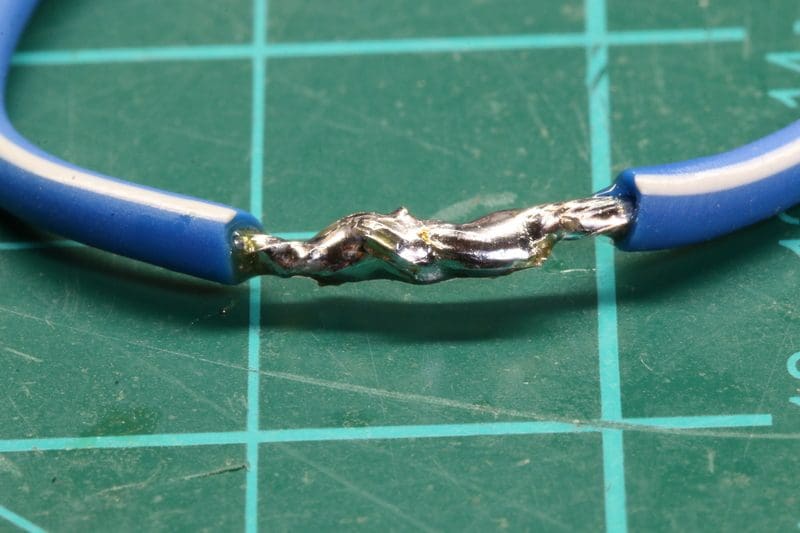
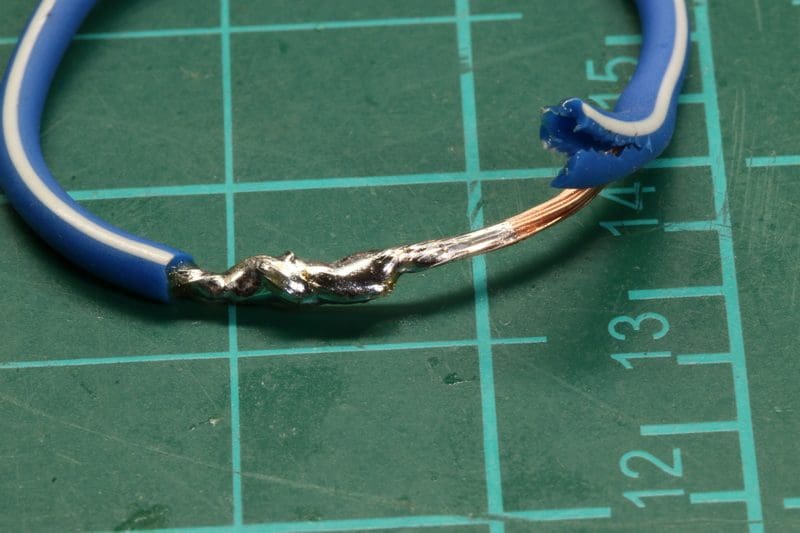
Cutting back the jacket shows how far the solder flowed up the wire. This extra solder makes the wire brittle and dramatically increases the chances of breakage in high-vibration situations.
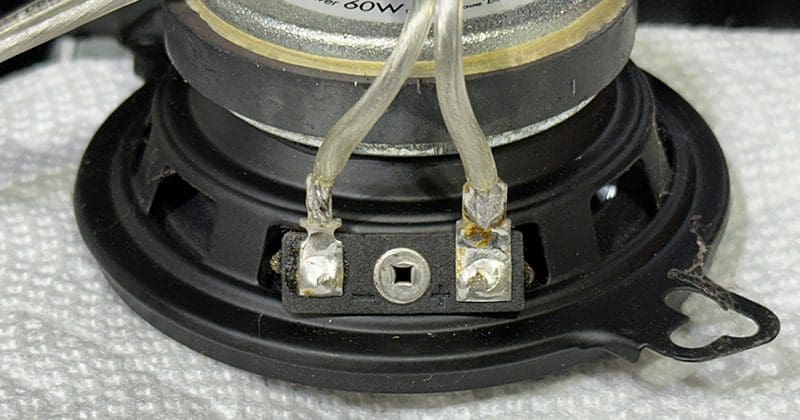
If you must solder, strain management is mandatory. The wire should be secure to prevent joint strain. An example of a terrible solution would be to solder a heavy-gauge wire (14 or 12 AWG) to a set of speaker terminals. First, speaker terminals are designed for spades, not solder. Second, the weight of the wire puts significant strain on the connection. We’ve seen many examples of soldered speaker connections fail because of vibration.
Inline Connectors, T-Taps and Wago Connectors
Based on our testing, Wago-style connectors aren’t ideal for fine-stranded wire. As you’d find in a home, solid copper wiring might work better where the spring terminals have something substantial to bite into. Don’t use these in your vehicle.
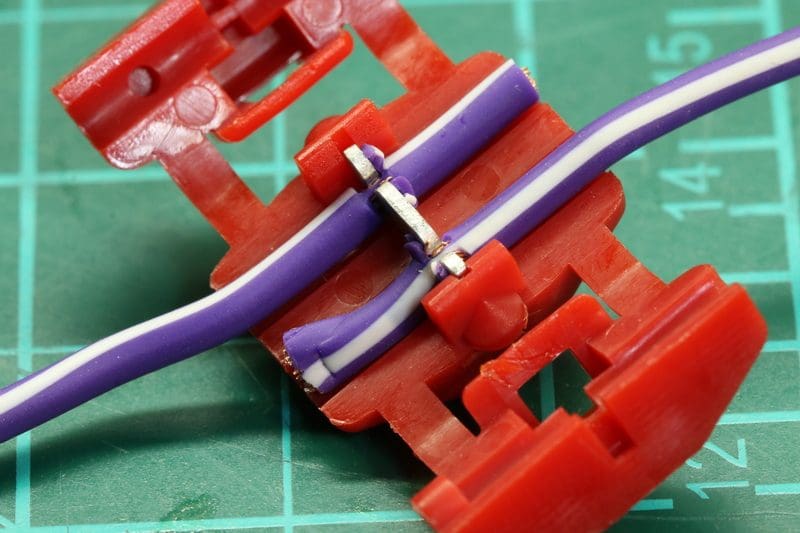
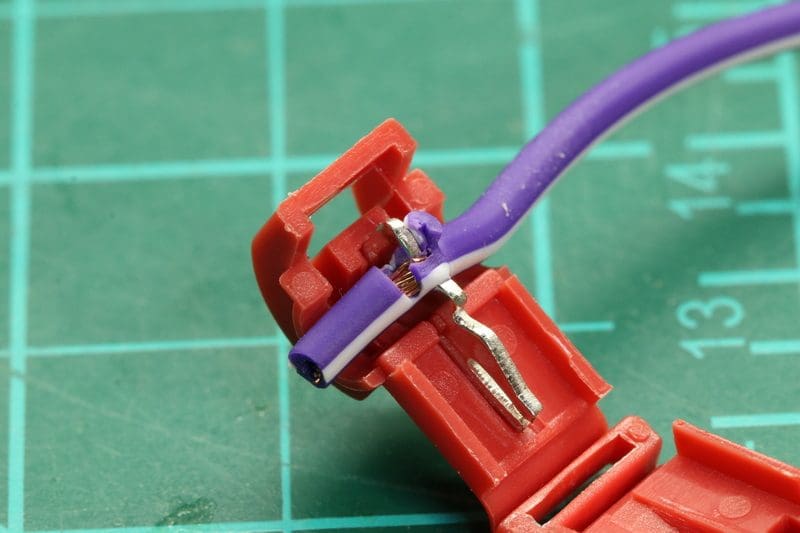
This statement will be controversial, but we don’t have any problem with T-taps or inline taps. We make that statement with a crucial qualifier: The connector must be sized perfectly for the wire. If the connector is too small, it will cut the wire strands as the top compresses. If the connector is too large, the connection won’t be secure. A properly sized inline connector includes integrated strain relief and can work quite well.
Twist-on connectors aren’t designed for automotive applications. Their size makes them bulky and difficult to conceal. Their shape and material make them prone to buzzing or rattling as the vehicle travels down the road. Finally, they don’t make a reliable enough connection with fine-strand wire. There is a chance the connector will come loose, which could result in a short circuit and damage to related devices.
Open-Barrel and Through Splices
As we mentioned, the standard for automotive wire-to-wire electrical connections from a harness assembly standpoint is to use open-barrel crimps. We won’t debate that, although our testing showed that both had almost twice the resistance of a crimped or soldered connection. Nevertheless, they are incredibly compact and easily hidden in a wire harness. Their downside is that they take some time to execute. If the technician had someone helping hold the two wires in the barrel while they applied the crimp, that would make things much faster. Getting the sides of the open-barrel splice to roll back over on themselves can also be tricky. The technician must use the perfect die in the crimper to make that happen reliably.
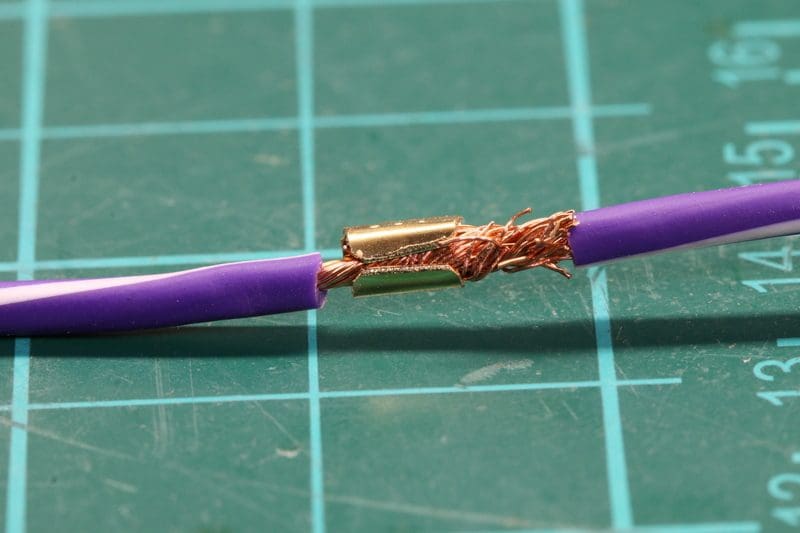
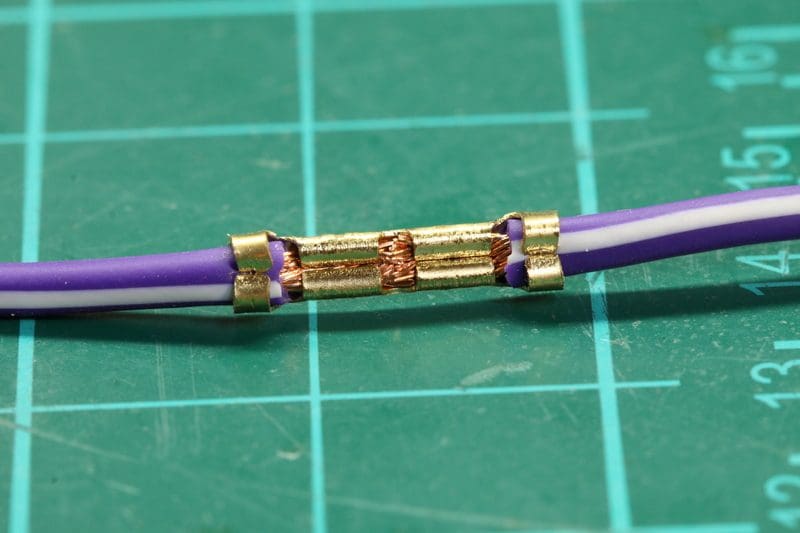
The connection above shows that the barrel wasn’t wrapped around the wires completely and didn’t close in on itself to make a solid connection. The inline splice connection shown below is much better. Both tabs on the center part of the barrel are touching, indicating that the wire should be well compressed. The strain reliefs on the ends of the wires could be tighter to offer more protection.
Properties of a Reliable, High-Performance Wire-to-Wire Electrical Connection
Before we end, let’s review the characteristics of a wire-to-wire electrical connection that should perform well and function reliably. As our testing confirmed, a solid connection is the first thing to consider. There should be no way for the wires to move relative to each other. Twisting wires together is a perfect example of getting this wrong. A crimped connection is an example of doing this correctly. A solid joint improves conductivity and allows the connection to withstand vibration.
While focusing on car audio and accessory installations, connection reliability concerns apply to marine, motorcycle, powersports and mechanical installations and even home wiring. Mechanical systems, including pumps, motors, hydraulics or other moving parts, can create intense vibrations that may deteriorate or damage inflexible connections. Soldering two wires together is an example of a less-than-ideal connection solution. However, adding adhesive-lined heat-shrink tubing can improve the reliability of a soldered connection. Further, bundling a soldered and heat-shrunk connection to other wires to form a harness offers further improvement.
This video from High Performance Academy offers some insight into soldering versus crimping connections in automotive applications.
No matter what connection method is used, attention to detail differentiates a good connection from a bad one. Before you agree to have a specialty mobile enhancement retailer work on your vehicle, ask to see some behind-the-scenes samples of their work. Examine how they make electrical connections. Ask to look under the dash of a remote starter installation or behind an amp rack. We’d take a properly executed T-tap over a poorly soldered connection any day!
