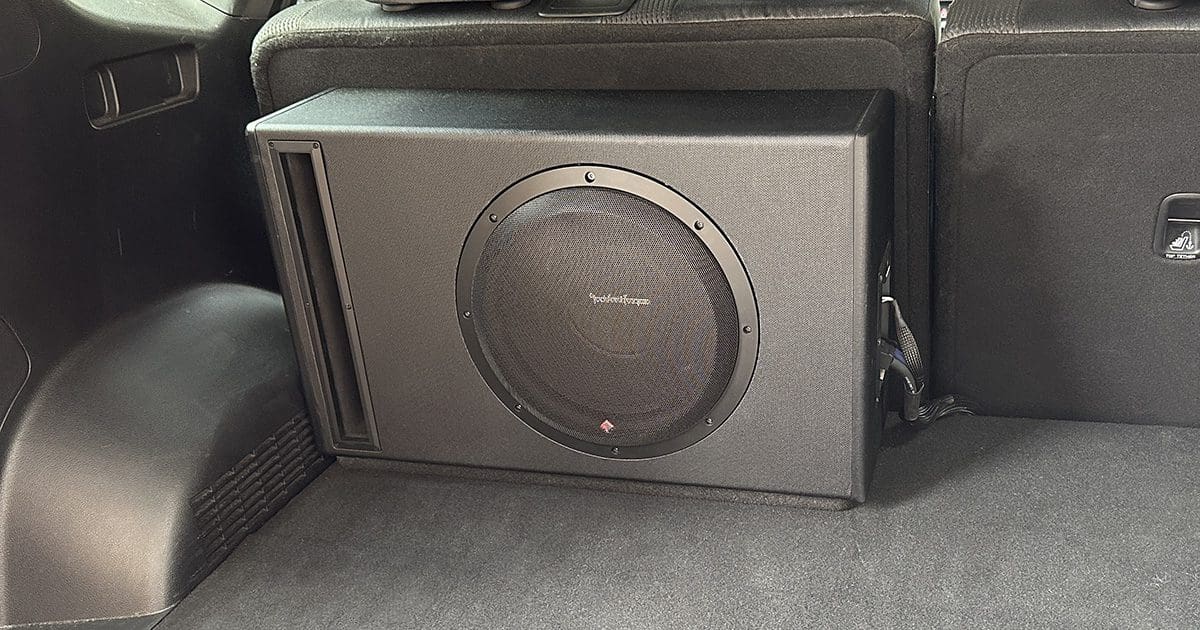
There’s a video floating around the internet of someone attempting a J-turn in a Range Rover into their driveway. It all goes wrong, and the truck rolls over, resulting in the subwoofer enclosure flying out the back window. We’ve discussed how important it is to ensure that all audio system upgrades to your vehicle are secure. Let’s look at a moderately over-engineered subwoofer hold-down solution we developed for one of our team members.
Subwoofer Enclosure Hold-Down
In “MythBusters” Episode 36, Jamie and Adam took on the challenge of determining whether a cardboard tissue box on the rear parcel shelf of a car would be lethal if it were to hit you in a collision. The results showed that the tissue box wasn’t heavy enough to be dangerous. However, something that weighs just a few pounds could be quite different. Even a tiny subwoofer enclosure with an 8-inch subwoofer weighs more than 10 pounds. Being hit by that in an accident could be scary.
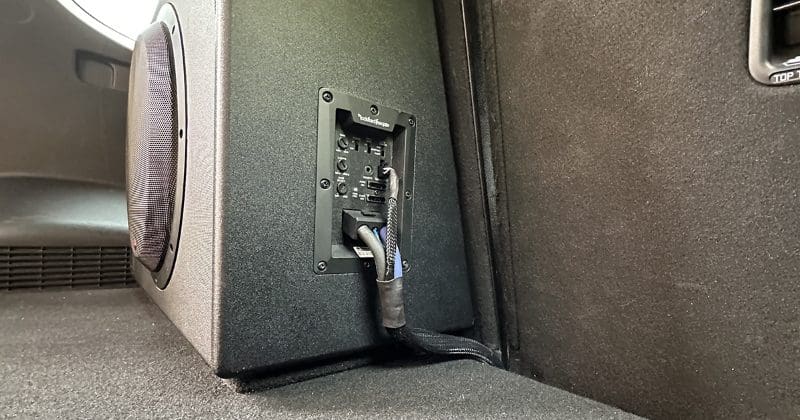
We recently installed a Rockford Fosgate P500-12P subwoofer enclosure in one of our staff member’s vehicles. While we devised a plan to secure the enclosure into the Hyundai Santa Fe, we used a ratchet strap connected to the luggage hold-down points to keep it in place. After less than a week of driving, one of the plastic brackets broke, and the enclosure slid to the rear of the cargo area. This hastened our need to create a secure mounting solution, so we started planning something safe and reliable.
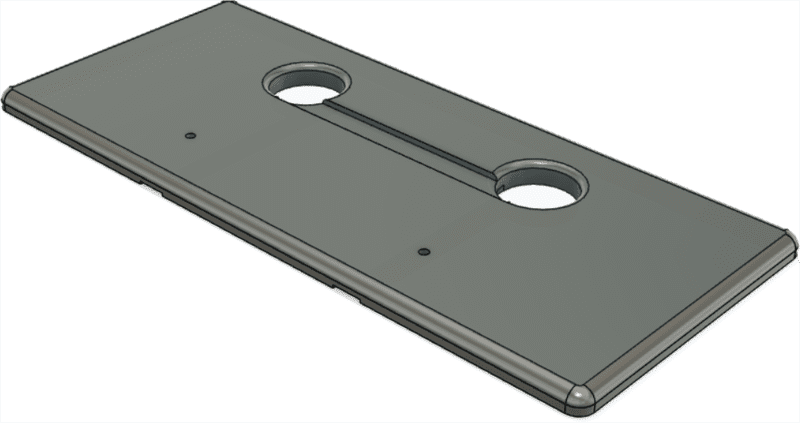
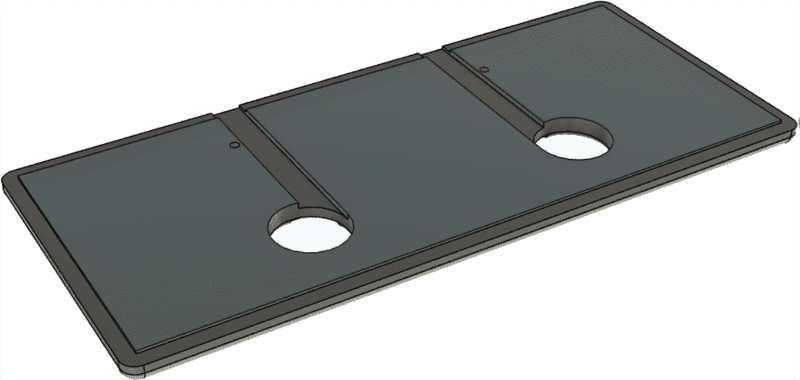
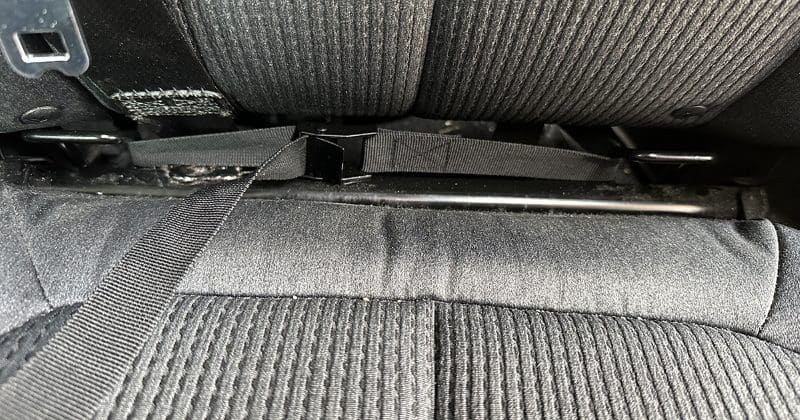
We planned to create a mounting board that would attach to the bottom of the enclosure. After adding some holes and slots, we would wrap the panel in black carpet for a tidy look. We would route a 1-inch nylon strap through two holes and three slots in the board, then run it through the LATCH baby-seat hold-downs in the rear seat mechanism.
Adding a Little Extra Flair
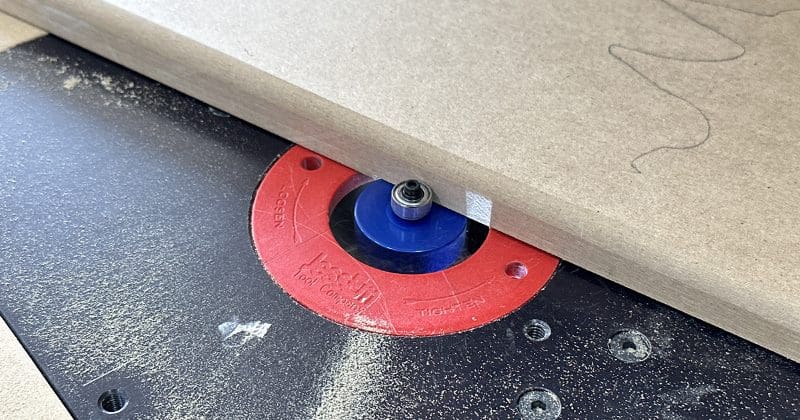
It would be faster and easier to cut the mounting board and leave it as a rectangle. Since we aren’t working on this in a production scenario in a shop, we took the opportunity to radius the corners and round over the bottom edge. We applied the same round-over to the pass-through holes for the nylon strap.
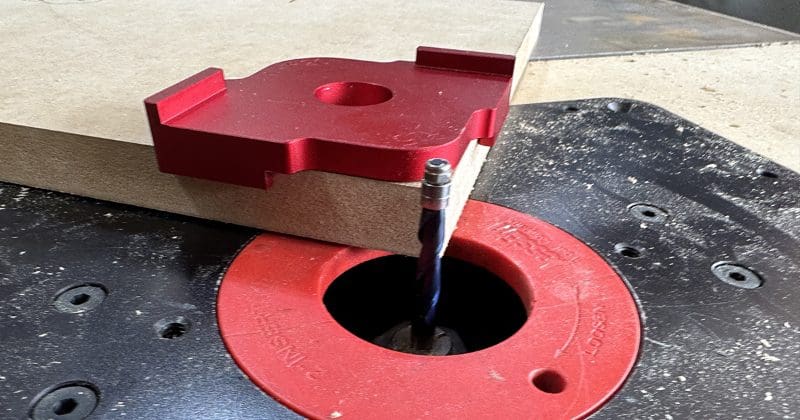
We took things further and added a 1/16-inch rabbet around the top edge so the carpet would sit flush. An alternative could have been to just carpet both sides.
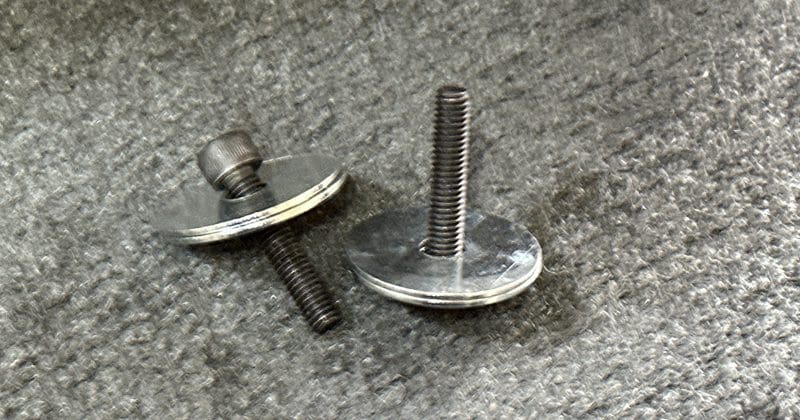
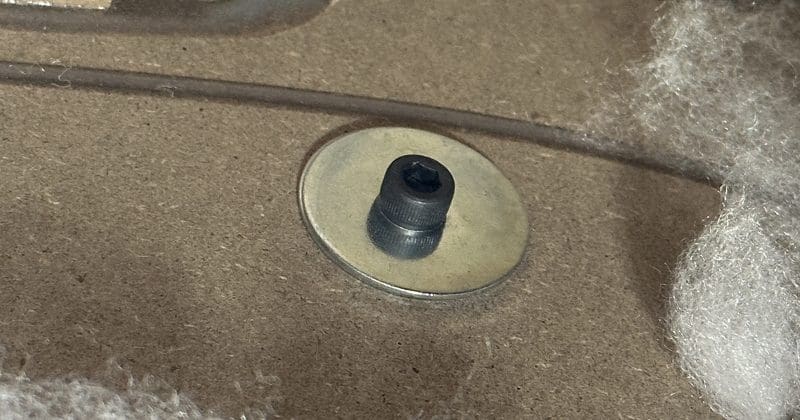
Ensuring that the mounting panel would remain solidly attached to the enclosure was an essential part of the design considerations. We used a pair of M6 T-nuts and matching 25-millimeter hex head fasteners. Two large fender washers under the heads of the fasteners spread the clamping load and reduce the chances of failure. While it wouldn’t be impossible for the T-nuts to pull through the MDF panel in the event of a severe accident, they should be pretty secure.
One challenge we encountered during the project was removing the subwoofer from the enclosure. While many Rockford Fosgate products look similar to solutions from other brands, their attention to detail is impressive and far exceeds what those brands that focus on low prices offer. As such, the grille and trim ring fit snugly into the recess for the driver. We used a combination of a flat-head screwdriver and a pry tool (skin wedge) so we wouldn’t damage the cosmetic vinyl on the front of the enclosure. We repeated the same process to release the bond of the mounting gasket foam between the driver mounting lip and the mounting surface of the enclosure.
Rockford Fosgate uses eight hex head fasteners to secure the subwoofer to the enclosure. Each fastener has a T-nut mounted to the underside of the mounting loop. This design ensures that the solution is infinitely serviceable (if required), unlike subwoofers that use screws threaded directly into the wood. We LOVE attention to detail like this.
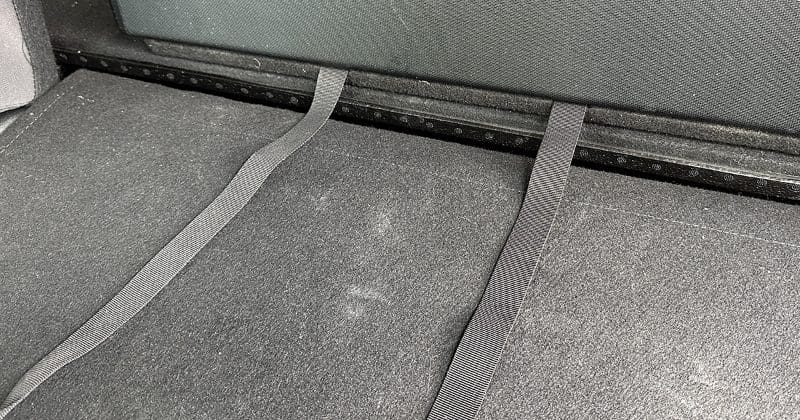
The last step in securing the subwoofer enclosure into the Santa Fe was to route the strap through the baby seat LATCH brackets and pull it tight. We realize that this isn’t a permanent solution and that it might need to be checked from time to time. We might have used a ratchet-style strap if there were more access space around the seat. If the owner needs to load something large into the trunk, the enclosure is removable in 30 seconds, thanks to the quick-release connectors on the side panel. We added some braided nylon loom to the wiring to give it a tidy appearance.
Ensure That Your Car Audio Upgrades Are Safe
Creating this subwoofer hold-down mounting panel took us about two hours. It doesn’t interfere with the performance of the enclosure. Of equal importance, it looks tidy, as though Rockford Fosgate engineered it. Seeing high-quality car audio products sliding all over a vehicle’s trunk or cargo area is disappointing. The chance that those unsecured components could cause an injury in the event of a bad accident only makes things worse.
Be sure to talk with the product specialist at the specialty mobile enhancement retailer you’re working with to design the upgrades for your vehicle so that everything will be mounted in a way that ensures reliable operation and safety. There’s a good chance that a securely mounted subwoofer enclosure could sound better than one that relies on gravity to hold it in place.
