
Aside from the nonsense about distortion damaging speakers and subwoofers, another hot topic in the car audio industry revolves around wire-to-wire soldering. You’ll get veterans who have soldered thousands of connections with no issues. On the other side of the camp are those who follow the automotive and racing industry mantra of crimping all connections. We’ve debated this many times, and each time, it comes down to the attention to detail in the work performed. If you’re a do-it-yourselfer working on your vehicle, it’s essential to execute your chosen wire-to-wire connection method with the utmost care, reliability, and accuracy.
This article will look at the best practices for making a reliable soldered wire-to-wire connection. Once again, shortcuts are common, but following proper soldering techniques is the best way to ensure reliability. Argue and debate all you want about how you’ve done it for decades without any problems.
The Wire
You’d think that any wires you might encounter in a car or truck are candidates for soldering. Sadly, you’d be mistaken. Many newer vehicles use aluminum in wiring that doesn’t carry much current. Soldering to these wires is nearly impossible. Your only choice for a reliable connection in these scenarios is a crimp or compression connector.
The Tools
First and foremost, you are going to need a good-quality soldering station. The preference would be something that has a thermostat so the temperature of the soldering tip is controlled. Second, you want something that has a place to hold the soldering iron securely. Weller and Hakko are the most popular options for professional-grade soldering stations.
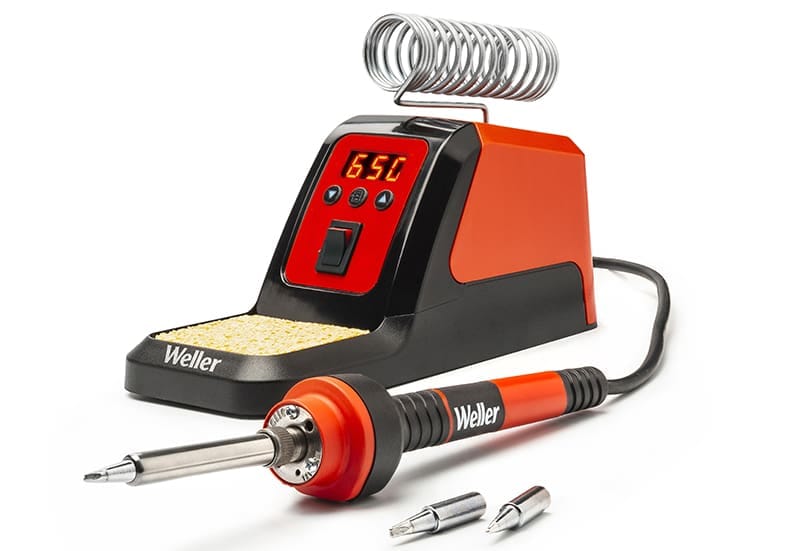
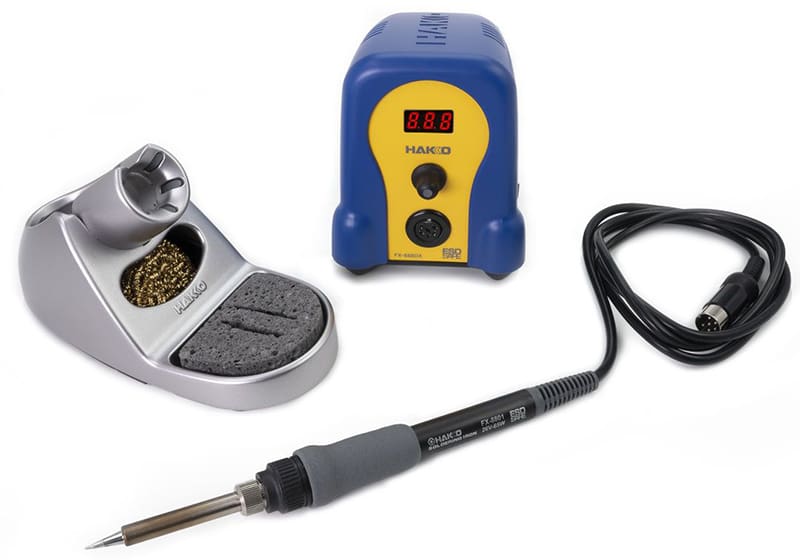
The soldering station’s power rating isn’t about how hot the iron can get. Power describes the station’s ability to keep the soldering tip hot when trying to heat connections that can absorb a lot of thermal energy. In short, more power means better thermal stability for quicker and more reliable connections.
The Solder
Solder has historically been a mixture of tin and lead. Due to health and environmental concerns, many production facilities mandate the use of lead-free solder. These solders need to be heated to a slightly higher temperature to melt into the connection, which can make them a little more finicky. For the most part, car audio technicians use 60% tin, 40% lead, or 63% tin and 37% lead solder in most applications.
Modern best practices suggest that lead-free solder is the way to go. Lead-free solder is typically 96.5% tin, 3% silver and 0.5% copper. Its definitely not as easy to work with.
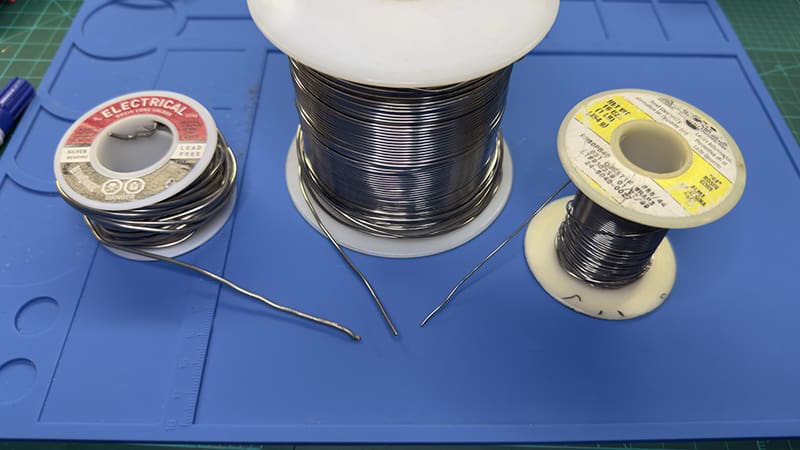
You’ll want a solder with a flux core. Flux helps clean the connection and improve the flow of the solder.
Aside from the materials in the solder itself, solder is sold in different diameters. The correct diameter depends on what you are soldering. If you are trying to fix the wiring in headphones, then 0.01-inch diameter solder might be a good choice. If you want to connect two 12-awg wires, 0.04 or larger is a better choice. Size the solder to the size of the connection.
The Flux
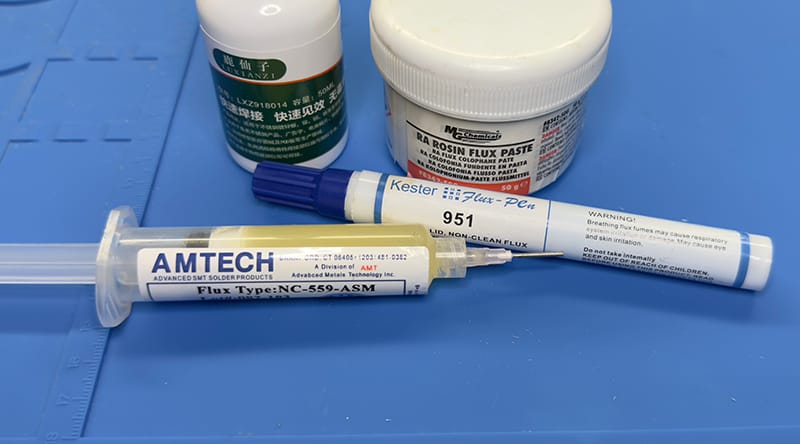
Copper starts to oxidize as soon as it’s exposed to the atmosphere. Trying to solder through this nearly invisible layer of oxidation results in poor conductivity. Think of this as trying to weld two rusty parts or paint over an oily surface. The results simply aren’t going to be reliable.
While flux-core solder is good, many connections to larger wires need more assistance. The application of rosin paste flux dramatically improves the soldering process. Flux is also available as a liquid. Liquid flux is often too thin for wire-to-wire connections but is excellent for cleaning circuit boards after removing components.
The Cleaning Supplies
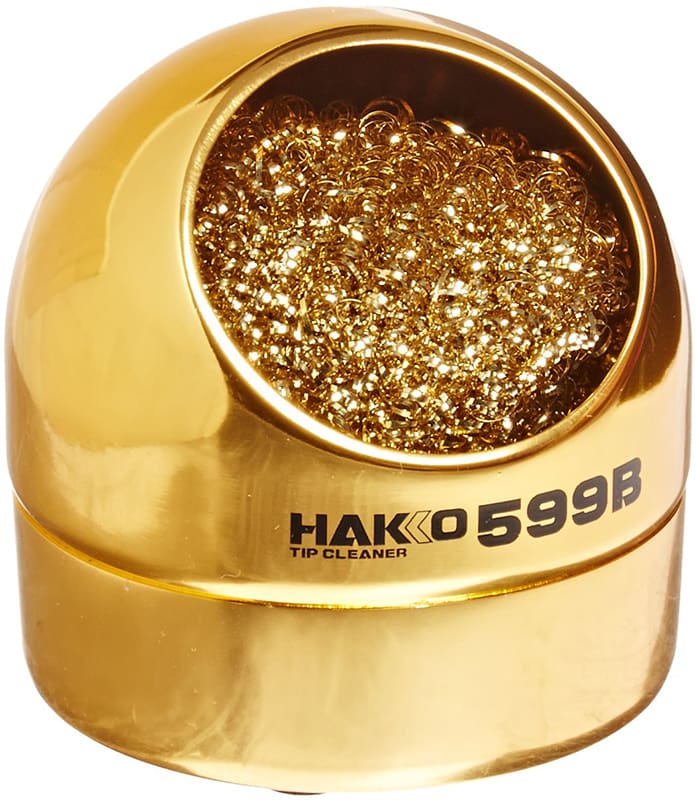
You will need a way to keep the soldering iron tip clean. Investing in a brass sponge or ball and holder is the best solution. When it’s time to solder, wipe the tip on the sponge. All traces of solder and flux will be removed. If your soldering iron tip gets dirty quickly, it might be too hot. Turn the temperature down on your soldering station.
The Connection
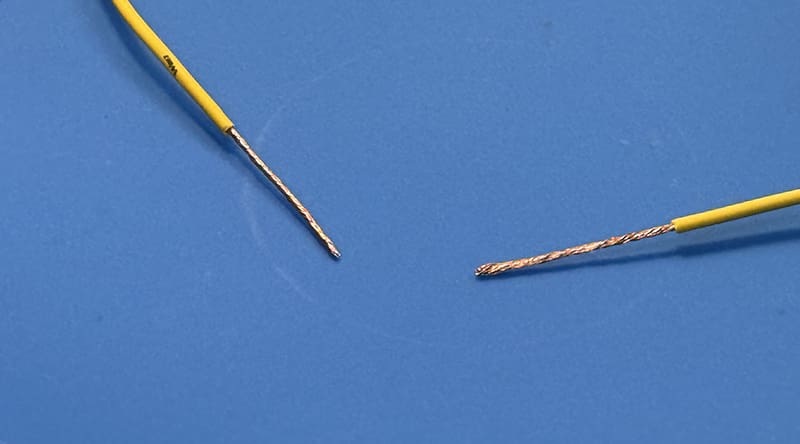
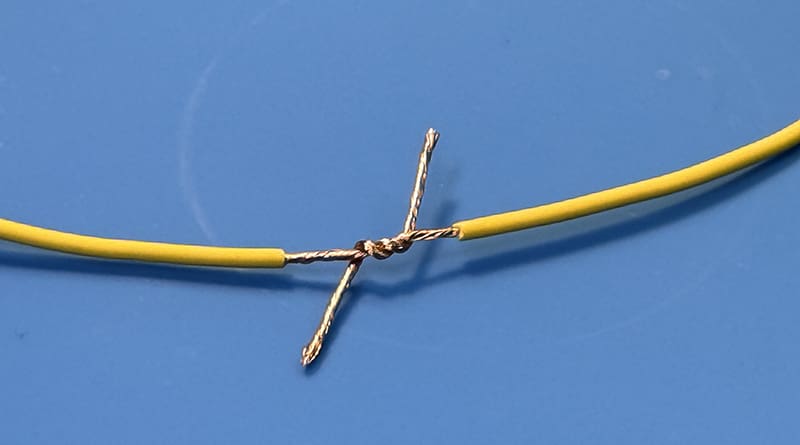
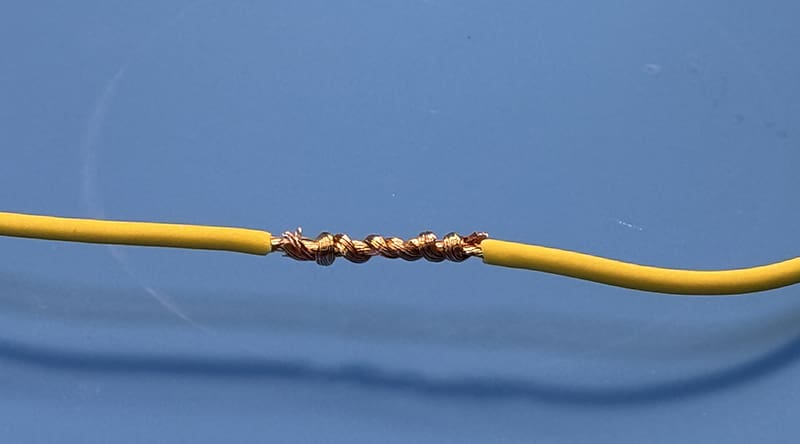
Connecting two wires together should start with a solid mechanical connection. While relying on the solder alone to hold the wires together usually works, the best practice is to twist the wires together securely using a Western Union or similar method. You should, ideally, be able to pull on the wires with moderate pressure, and they should stay together.
The Preparation
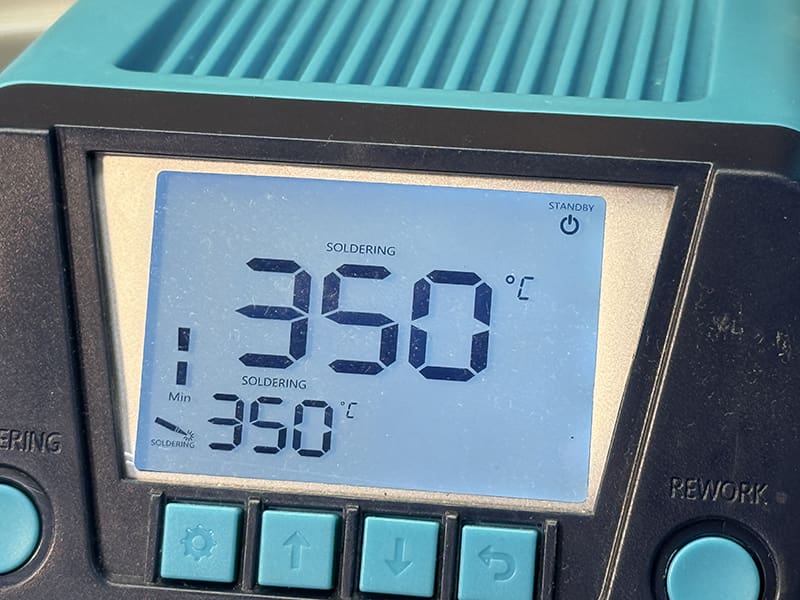
Soldering is straightforward, but like any skill, it requires practice to execute correctly and neatly. The first step is to preheat the soldering iron. For most connections, assuming you are using a temperature-controlled station, you’ll want the iron set to between 600 and 650 degrees Fahrenheit (340 and 370 Celsius). You might need to go higher if you don’t have a powerful soldering station.
Now, prepare the connection. If you are going to use heat-shrink tubing, put it on the wire now. Next, establish the mechanical connection between the two wires. Check that nothing will fall apart as you start soldering.
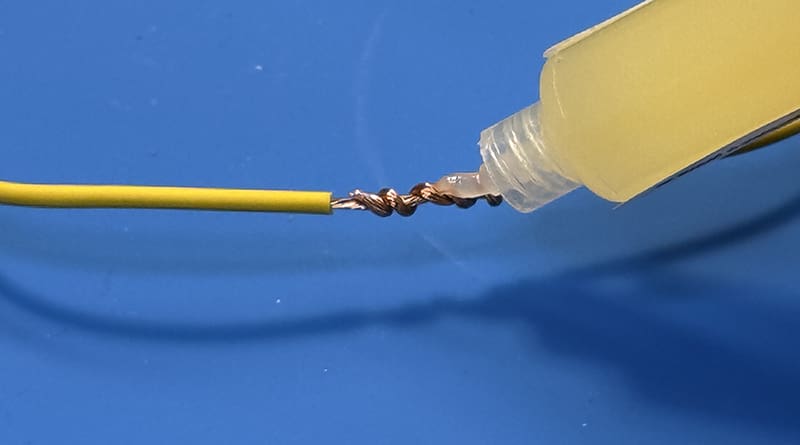
Now, apply flux to the connection. You don’t need a lot, but you want to make sure the connection is thoroughly cleaned.
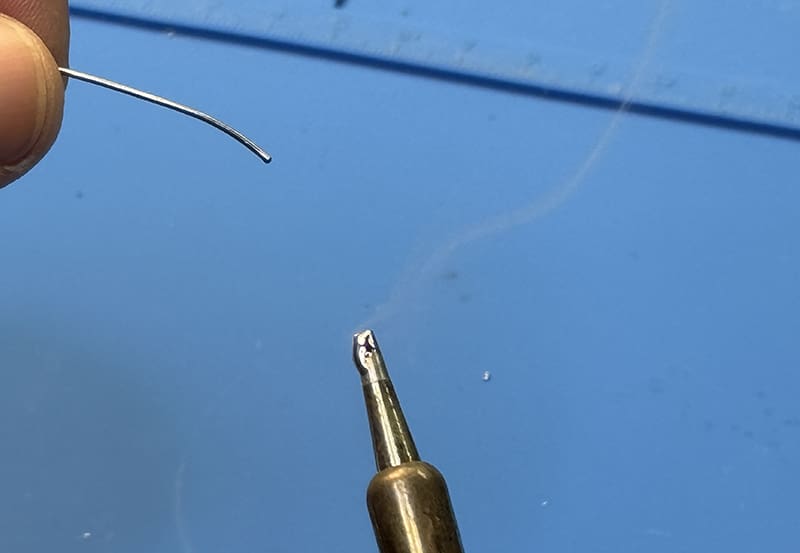
We’re ready to start soldering. Clean the tip of the iron on the brass ball, then apply a small ball of solder to the tip. This is called tinning the iron.
The Soldering Process
Next, touch the ball of solder to the underside of the connection. If you’ve prepared everything correctly, the solder should be absorbed into the connection within a second or two. It’s crucial that you are using the soldering iron to heat the wires from below.
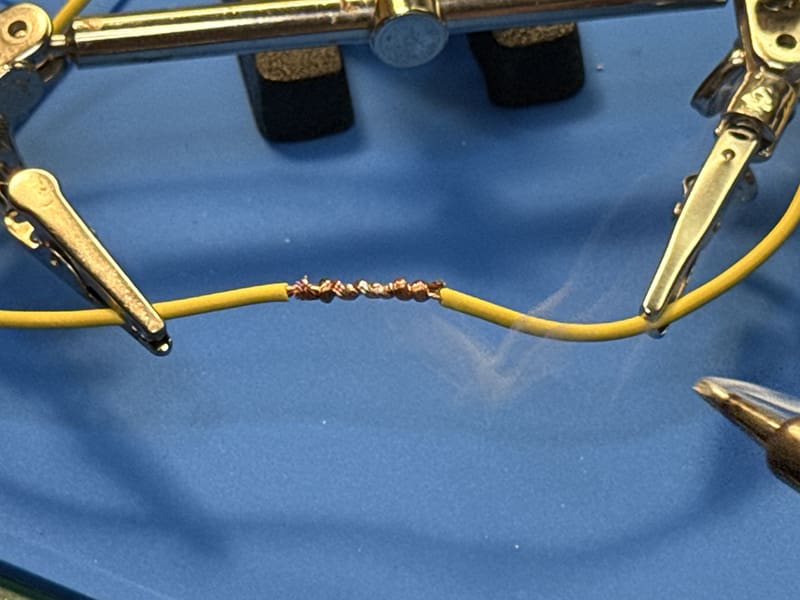
Once the wires are hot enough, add a little more solder from the top of the connection. It should melt and flow into the wire quickly. Note: Don’t overdo this. You want to fill the gaps between the wires, but you don’t need to flood the connection until it’s smooth.

Once the connection has cooled for a few minutes, you can slide the heat-shrink tubing over it and apply hot air to shrink it. Avoid using a lighter or other open flame—this often damages the heat-shrink tubing and can be dangerous.

If you are going to use electrical tape, make sure you use a high quality vinyl tape like 3M Super33+. Cloth and fabric tapes are not designed to protect electrical connections. Save those for bundling wires together and preventing harnesses from buzzing or rattling.
The Words of Warning
One thing that can lead to a potentially fragile connection is applying too much solder, which wicks up under the wire jacket. An important limitation of solder connections is that they are brittle. It will break if you flex the connection back and forth a few times. In high-vibration applications like motorcycles, boats, race cars, or powersports vehicles, soldered connections that don’t have adequate mechanical support can fail.
If you’ve watched any of the motorsport wire harness construction videos from High Performance Academy or have dissected an OE vehicle wiring harness, you’ll know all those connections are made with open-barrel crimp connectors. The connections are then encased in heat-shrink tubing, and the ends of the tubing are sealed with epoxy to ensure the entire assembly is sealed from water, oil, and fuel. Every connection takes a while to execute. However, when the reliability of a race car is at stake, it’s worth every second.
As with metal welding, the quality and reliability of any electrical connection depend on proper preparation and careful execution. If you rush or take shortcuts, you’re destined to have problems.
As always, if anything you see here is beyond your capabilities, be sure to engage the services of a reputable mobile enhancement retailer. This ensures that your audio or accessory upgrade project will function safely and reliably.
