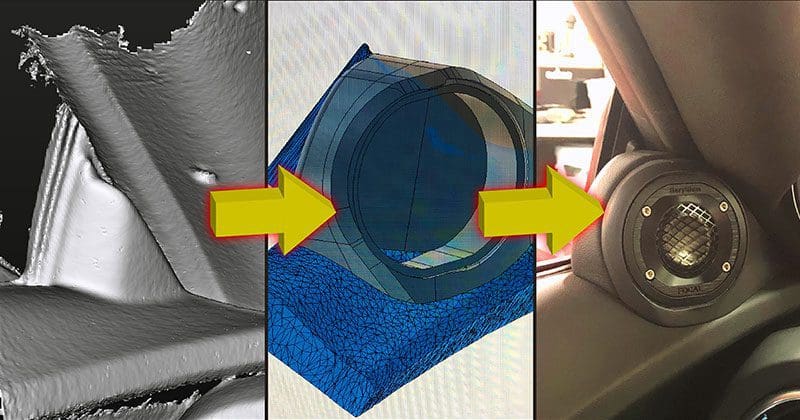
Twenty years ago, nobody would have considered 3D printing as a way to build parts to upgrade car audio systems. In the mid to late 2000s, companies that prototyped parts frequently started to invest in 3D printers. At the time, these systems were expensive and slow. Now, dentists can take a mold of your mouth and have 3D-printed dentures ready in just a few days. At an even more extreme level, Porsche is working with suppliers Mahle and Trumpf to provide 3D-printed metal pistons for the engine of the flagship 911 GT2 RS.
Over the years, the car audio industry has evolved with respect to the materials we use to create mounting brackets, control panels and speaker pods in custom audio installations. We started with MDF and plywood back in the ’70s and ’80s. Historically, pods were made by taping up an area, then applying fiberglass and building up the part with wood mounting rings and stretched grille cloth. In the last 15 years, more and more shops are working with layered ABS, PVC and acrylics for speaker mounting adapters and laser defense system jammer installations.
This dramatic shift in access to additive manufacturing processes is starting to change the way car audio systems are enhanced. Enter Brian Schurg from Richmond, Virginia. He’s the manager at Extreme Audio in Mechanicsville. As with most of us in the car audio industry, he wears many hats and helps with sales, installation, fabrication and support for the installation team at his store and the Midlothian location. From an industry perspective, Brian is leading the charge to make 3D printing and manufacturing an everyday part of what is offered to consumers.
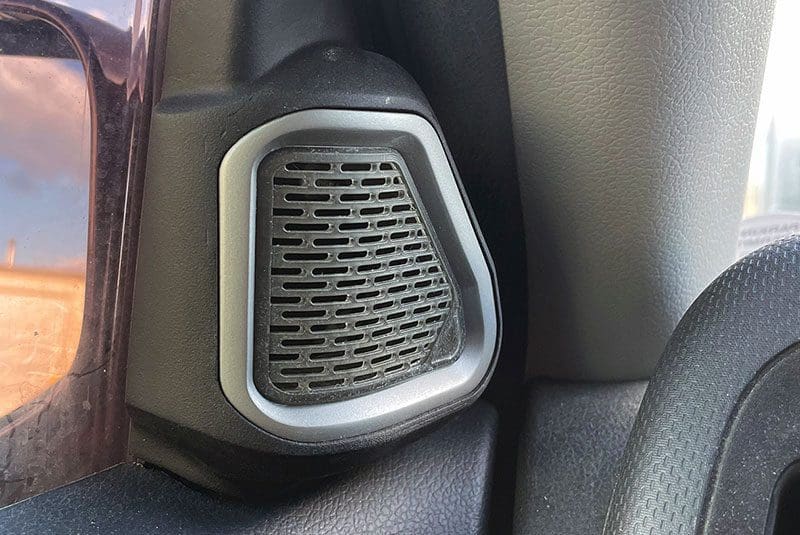
System and Component Design Process
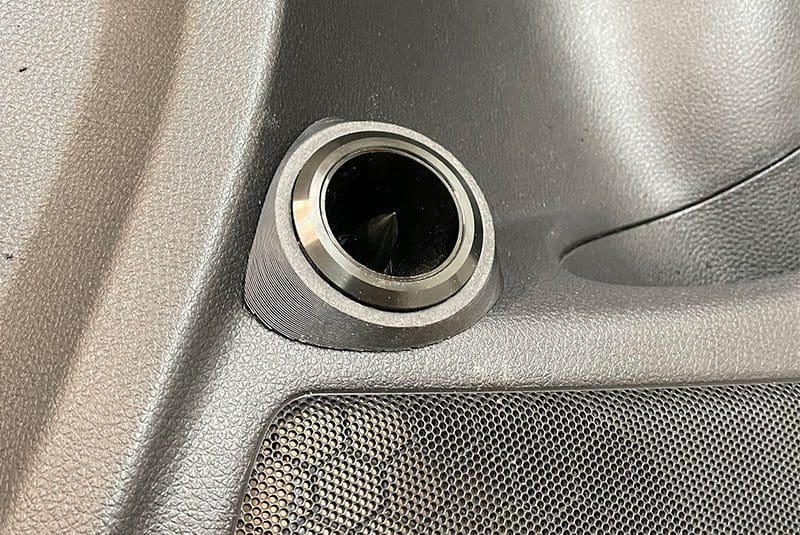
Brian started experimenting with 3D printing six years ago. He realized that he could create very precise printed parts that worked with tweeters and DSP controllers. He’s gone on to combine 3D scanning with laser-cut acrylic inserts to deliver installation solutions that look amazing and provide a solid solution that would be difficult to reproduce any other way.
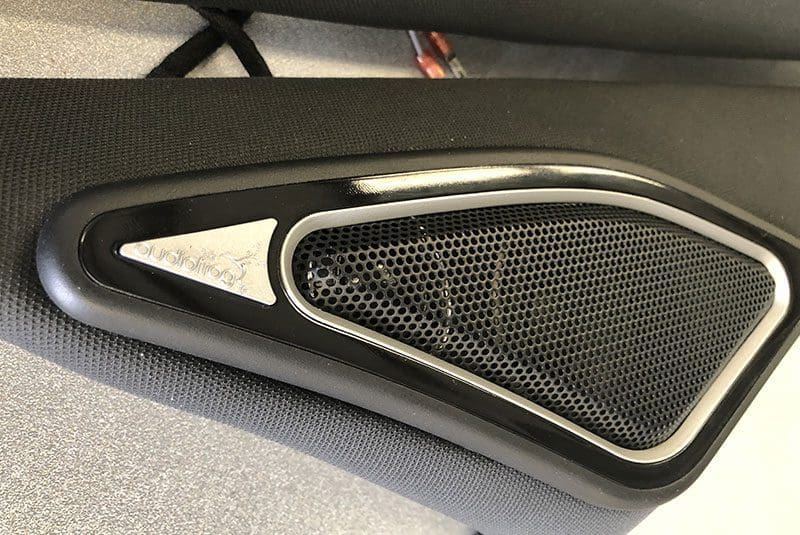
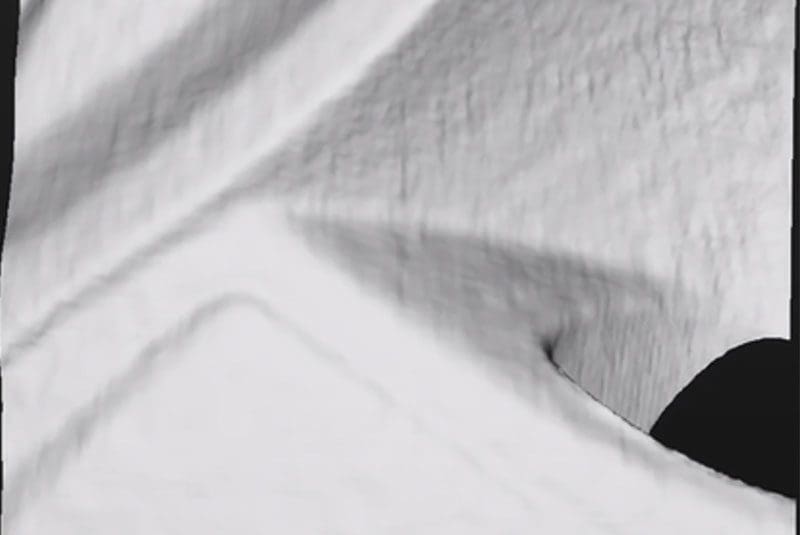
Brian told us that constructing 3D-printed parts has become a fundamental part of his toolset when designing audio systems for his clients. In terms of the design process, once he has an idea for a part, he’ll scan the area to create a 3D image, then take several photographs with a ruler, protractor or markings to help determine the angles he’ll want in the finished product. From there, he brings the scan into Autodesk Meshmixer to convert the millions of little triangles from the scan into a solid that he can work with in Fusion 360. Next, Brian designs the part and subtracts the scanned surface, so the fitment to the vehicle is perfect. He slices the component then sets one of the printers to work. While it can take several hours for a part to print, work can continue on the rest of the installation.
Off the printer, the next step depends on how the part will be finished. It can typically proceed without any additional work if it’s going to be wrapped in thick vinyl or leather. However, if the piece is going to be painted, then sanding and priming are the prerequisite steps. Again, Brian knows what paints and adhesives work best, and he’s come up with a few tricks to make the process more efficient.
From his perspective, one of the best elements of the 3D design process is that he can mirror the 3D part in software to create the component for the other side of a vehicle as required. So essentially, he gets two pieces for the time it takes to design one. For him, designing in three dimensions using software like Fusion 360 lets him allow for vinyl, carpet and paint thickness. This eliminates the need to fill the edges with body filler as is common to other construction processes.
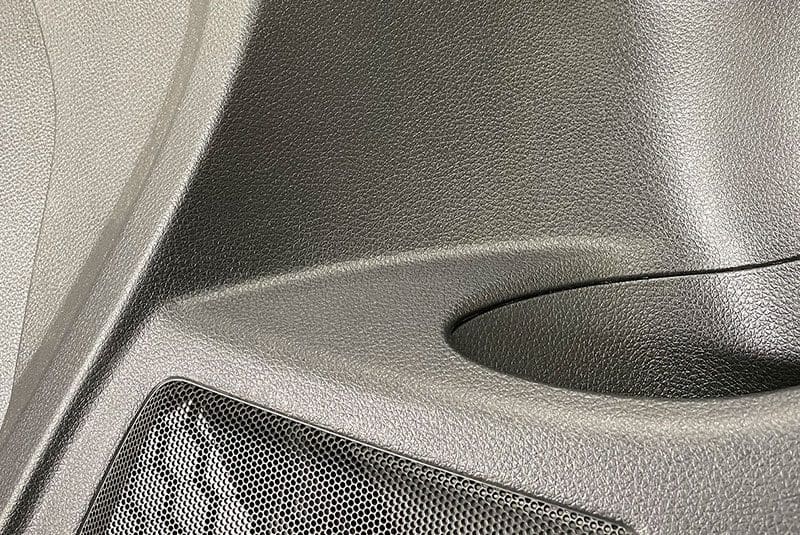
Tools of the 3D Trade
Brian has invested significant time and resources into creating reliable solutions that look great. Typically, home printers use polylactic acid (PLA) plastic filament. While it’s strong and durable, it can start to melt at the high temperatures experienced in vehicles during the summer. With input and consultation from fellow 3D printer enthusiast Andy Wehmeyer (president of Audiofrog Inc.), he’s come up with two filament solutions that are ideal for extreme temperatures and aren’t affected by prolonged ultraviolet exposure when not painted. Likewise, he understands and can compensate for how different printing materials shrink as they cool.
For hardware, Brian has three Tiertime UP BOX and one UP mini printers. These are classic fused deposition modelling (FDM) printers that add material layer by layer to build an object. He also has a Formlabs Form 1 resin printer that he uses to print parts that come out almost ready to finish. The latter is a stereolithography (SLA) printer that uses a light-reactive resin bath and a laser that cure each layer in place as the part grows upward out of the liquid.
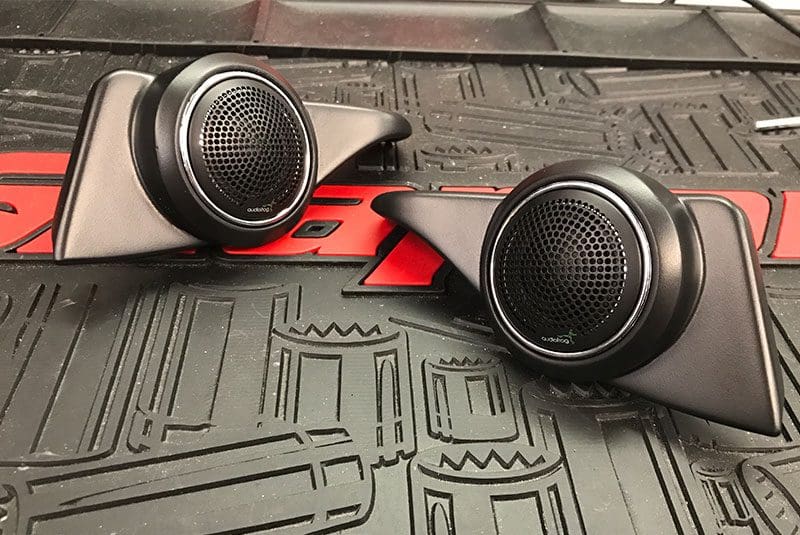
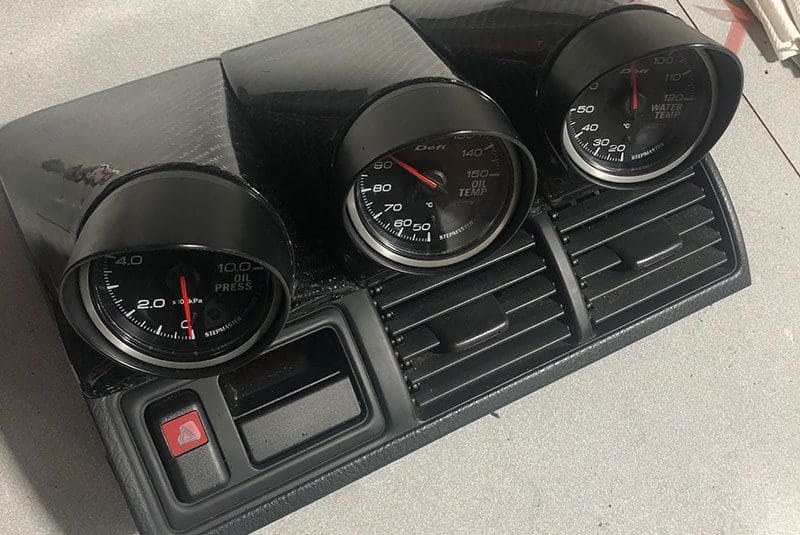
Brian keeps his fleet of printers busy making parts such as tweeter pods, radio mounts and trim pieces for Extreme Audio clients and other shops around the country. Many of his peers order parts from Brian in hundred-lot quantities, so he’s always loading filament and cleaning the printing beds for another run. Brian pointed out that this type of work is ideal for additive manufacturing as the labor involved to create more parts once the design and testing phase is complete is relatively minimal.

If you live in or within driving distance of Richmond, Virginia, and are considering a custom stereo system upgrade for your car or truck, take a run over to Extreme Audio in Mechanicsville and talk with Brian. He and his team can design, fabricate, install and configure an audio solution that includes 3D-printed parts that will look and sound amazing.
